
A snagging list for renovations: your complete inspection guide
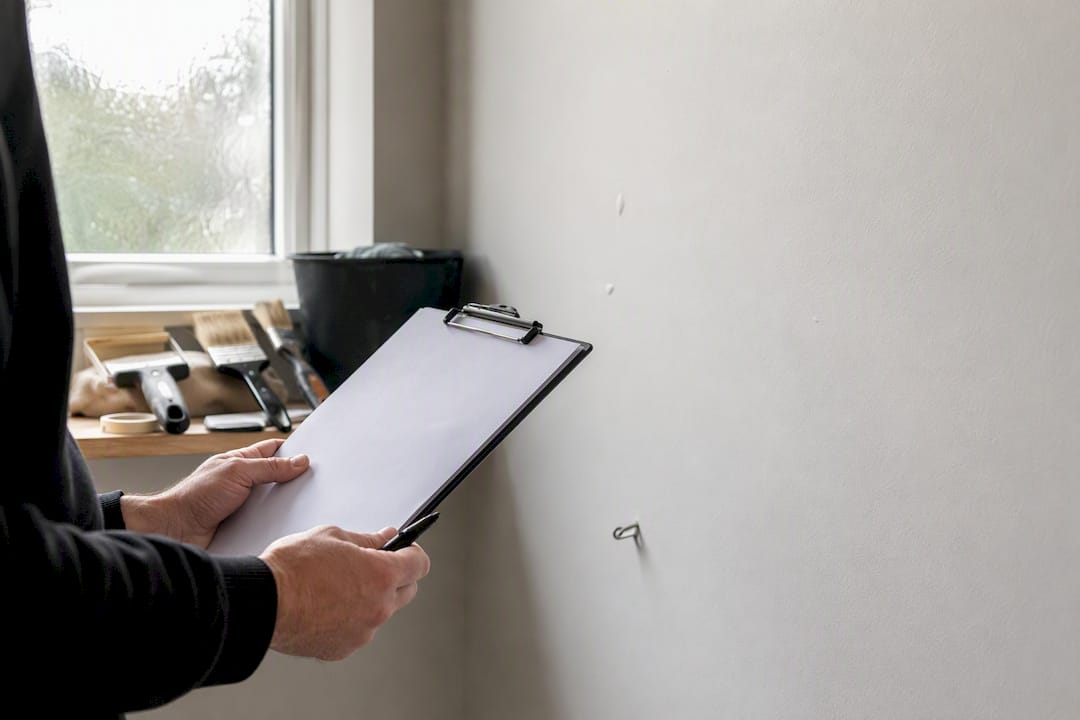
A snagging list is a written record of every defect and unfinished item a contractor must fix before you release final payment. It covers everything from a poorly caulked bath to a socket wired the wrong way round, and it becomes your strongest piece of leverage once the big work is done. The moment to act is before practical completion, not after: inspect every room, photograph each fault, then issue a signed, dated list with agreed deadlines for rectification.
Inspect thoroughly before you sign off or pay the final balance
Photograph every defect, ideally with a visible reference point
Get the list signed, dated, and agreed with rectification deadlines attached
Pro Tip: A snagging list works as a formal record of defects and incomplete works, which means it only protects you if you issue it before you’ve handed over the final cheque.
Key Takeaways
A snagging list only protects you when it’s issued, photographed, and signed before final payment leaves your hands.
Point | Details |
Inspect before you pay | Complete your snagging walk-through before releasing final payment or retention. |
Photograph everything | Attach dated photos to each entry, ideally shot in daylight for accuracy. |
Prioritise by risk | Classify snags as safety, programme-critical, or cosmetic, and set separate deadlines. |
Keep it rolling | Log snags as they appear during the build to avoid one overwhelming final list. |
Bring in expert oversight | Tenen Ltd offers on-site snagging inspections and managed rectification for London renovations, extensions, and loft conversions. |
Table of Contents
What is a snagging list and why does it matter for renovations?
Room-by-room checklist: what to inspect during a renovation snag
How do you run the inspection and compile the list properly?
What common defects should you watch for during renovations?
How can you tell a cosmetic defect from a structural problem?
Should you hire a professional snagging surveyor or inspect yourself?
How Tenen Ltd supports your snagging inspection and rectification
What is a snagging list and why does it matter for renovations?
The word “snag” covers minor faults: a drawer that sticks, a paint touch-up that was missed, a tile grout line that’s uneven. A formal contractual defect is different. It’s a breach of the agreed specification or building regulations, and it usually carries legal weight the way a scuffed skirting board doesn’t. Both belong on the same list, but understanding the difference matters when you’re deciding how firmly to push and how urgently something needs fixing.
Who compiles the list depends on the size of your project. On a straightforward bathroom or kitchen refurbishment, you and the contractor typically walk the property together and agree the items there and then. On a larger job, such as a full property renovation or a loft conversion with an architect involved, the architect or contract administrator often leads the inspection and issues the formal schedule. Either way, you should always be present. You’re the one living with the results.
Snagging sits at a specific point in the building process: practical completion. This is the moment the contractor declares the work finished enough for you to use the space, even if small items remain outstanding. Under standard UK construction contracts such as JCT, the contractor’s obligation to remedy defects continues through a defined defects liability period after practical completion, and the final schedule of defects at the end of that period is a formal document, not an informal wish list.
This is also where retention money comes in. Many renovation contracts allow you to hold back a percentage of the final payment, often released in two stages: a larger portion at practical completion and the balance once the defects liability period ends and outstanding items are verified as fixed. If you release every penny before snagging, you lose your main incentive for the contractor to come back promptly.
A snag is a minor, easily corrected fault; a defect can be a breach of specification or regulations
The client, architect, or contractor can lead the process depending on project scale
Retention money, held back until snags are cleared, is your main financial lever
When should you carry out snagging and who should be there?
Timing decides whether your list is useful or just a source of frustration. Inspect too early and you’ll flag hundreds of items that were never going to be finished yet. Inspect too late, after you’ve paid in full, and you’ve lost your leverage. The sweet spot is when the work is substantially complete and, where possible, services such as heating, water, and electrics have been commissioned and are running. That way you can test things properly rather than guessing whether a socket works.
Daylight matters more than people expect. Poor paintwork, uneven plaster, and hairline cracks all hide under artificial light and jump out under natural daylight from a window. Schedule your inspection for a bright morning or early afternoon wherever your diary allows.
Agree the inspection date with your contractor at least a week in advance so trades can be available for questions
Invite the site manager or lead builder, and your architect or designer if one has been involved
Ask for relevant specialist subcontractors (electrician, plumber) to be on call if their work needs testing
Walk the property systematically, room by room, rather than jumping between floors
Confirm a realistic window for rectification before anyone leaves the site
Pro Tip: Book your snagging inspection for a weekday morning rather than a Friday afternoon. It gives the contractor’s team the whole week to plan and start rectifications rather than leaving everything hanging over a weekend.
Giving subcontractors reasonable notice protects your relationship with them as much as your project’s timeline. A plasterer asked to return with two days’ notice to patch a hairline crack is far more cooperative than one summoned for the same afternoon.
Room-by-room checklist: what to inspect during a renovation snag
Every room shares a baseline of checks before you look at anything room-specific. Test every socket with a phone charger or lamp, flick every light switch, and check every door and window opens, closes, and locks smoothly. Run a hand along skirting boards and architraves for gaps, and check paint finish in daylight for missed patches, drips, or brush marks. Testing all switches, sockets, doors and windows and photographing defects in good natural light is standard advice across most homeowner snagging templates, and it’s the single habit that catches the most issues per minute spent.
Kitchen
Check every appliance is plumbed, powered, and actually switches on, not just installed
Run taps to check pressure and check for leaks under the sink
Open and close every cupboard and drawer, checking soft-close mechanisms and alignment
Check worktop joins for gaps and confirm the surface is level with a spirit level
Test the extractor fan on all speeds and check it’s ducted correctly, not just switched on
Check waste plumbing runs cleanly with no drips beneath the sink cabinet
Bathroom
Check silicone seals around the bath, shower tray, and basin for gaps or air bubbles
Inspect tiling for level lines, consistent grout colour, and any hollow-sounding tiles (tap gently to check)
Run the shower for several minutes and check drainage speed and any leaks around the tray
Check the extractor fan runs and is vented externally, not just switched on
Test taps, the toilet flush and cistern fill, and check the basin waste doesn’t drip
Floors and stairs
Walk every floor listening for squeaks or hollow spots, particularly near thresholds
Check gaps between skirting and flooring, and confirm thresholds sit flush without trip hazards
Test stair treads for movement and confirm handrails and guardrails are firmly fixed
Check any underfloor heating zones individually if fitted
Exterior and services
Check guttering and downpipes are securely fixed and correctly aligned with drainage points
Confirm external doors seal properly and locks operate smoothly
Check drainage falls direct water away from the building, not towards it
Take meter readings for gas, electricity, and water at handover for your own records
Safety and compliance
Test every smoke alarm and carbon monoxide detector
Ask for written commissioning confirmation for gas and electrical work
Confirm any fire doors close and seal correctly if your renovation included them
If your project involved a kitchen or bathroom refurbishment specifically, cross-reference the checks above against your original specification; contractors sometimes substitute fittings during the build and it’s easy to miss on a quick walk-through. Our essential home refurbishment checklist covers the planning side of this in more depth if you want to prepare before work even starts.
How do you run the inspection and compile the list properly?
Bring four things before you start: your original specification and drawings, a torch, a spirit level, and a phone or camera with plenty of storage. A blank notepad won’t cut it. You need a structured template you can fill in as you go, room by room, without losing track of what you’ve already checked.
Work through the property systematically, one room at a time, rather than backtracking
Give every snag a unique reference number so nothing gets lost or duplicated later
Photograph each defect clearly, with a second wider shot showing its location in the room
Note the trade responsible for each item (electrician, plasterer, joiner) as you go
Classify each snag by priority: safety and compliance first, then programme-critical items, then cosmetic finishes
Agree a realistic rectification date for each item before you leave the site
Track status against each entry: open, in progress, completed, verified
A well-structured entry should always include a unique reference ID, exact location, description, responsible trade, photographic evidence, priority classification, and an agreed rectification date. Miss any of these fields and disputes tend to follow, because “the tiling in the bathroom” means something different to you than it does to the tiler three weeks later.
Version control matters more than people expect on longer projects. Once you’ve issued the list, don’t keep editing the original document. Issue dated revisions instead, so both you and the contractor can see exactly which version was agreed and when items were marked complete.
Pro Tip: Never rely on a verbal “yes, we’ll sort that” from a contractor. Get every agreed date in writing, even if it’s just a follow-up email confirming what was discussed on site.
This is also the moment to think about payment. Holding back final balance and retention until the agreed snags are verified fixed isn’t awkward or distrustful; it’s standard commercial practice, and proactive, incremental snagging during the build significantly reduces the volume of outstanding items at final handover compared with waiting for one big inspection at the end.
Which templates and tools work best for homeowners?
You don’t need expensive software to run an effective snagging process. A simple spreadsheet with the right columns will do most of the work: unique ID, room or location, description, trade responsible, priority, photo reference, agreed date, and status. That’s eight fields, and if you fill them in consistently for every entry, you’ll have a document that any contractor can act on without asking clarifying questions.
Spreadsheets like Google Sheets or Excel work well for smaller renovations because everyone involved already knows how to use them, and you can share a live link rather than emailing versions back and forth. Purpose-built mobile snagging apps offer more polish: photo attachments linked directly to entries, automatic timestamps, and task assignment features. For larger commercial projects, digital snagging tools are often recommended because they support photo attachments, task assignment, due dates, and progress tracking at a scale a spreadsheet struggles with. For a single kitchen or bathroom job, a well-organised spreadsheet plus a phone camera is usually all you need.
Rolling snagging, where you log issues as they appear throughout the build rather than saving everything for one final walk-through, is the habit that separates a smooth handover from a stressful one. Catching a wonky tile the week it’s laid means the tiler is still on site and can fix it in minutes. Waiting until the end means booking a return visit for something that should have taken two minutes to sort.
Minimum spreadsheet fields: ID, location, description, trade, priority, photo reference, agreed date, status
Spreadsheets suit smaller domestic jobs; apps suit larger or multi-trade projects
Rolling snagging keeps the final list short and manageable rather than overwhelming
Practical tips from Tenen Ltd’s site experience
We’ve run enough handovers across London homes to know that the ritual matters as much as the checklist. On our own projects, we walk clients through the property in a fixed order, starting with the room that had the most technical work (usually the kitchen or bathroom), so the trickiest checks happen while everyone’s attention is sharpest. We always schedule for daylight hours and insist services are commissioned before the inspection begins, not scheduled for “the following week.”
Walk technically complex rooms first, while attention and daylight are both at their best
Have the site manager sign off each snag individually rather than the list as a whole
Keep a running log throughout the build rather than waiting for one final inspection
A signed, photographed, and dated snagging list is the single most persuasive document a homeowner can produce if a contractor goes quiet after final payment. It converts a frustrating phone call into a straightforward paper trail.
If a contractor becomes slow to respond post-handover, a clear, signed snagging list with dates and photographs is consistently the most effective negotiation tool available to the homeowner, far more persuasive than a memory of what was agreed verbally on site.
What common defects should you watch for during renovations?
Certain snags turn up on almost every renovation project, which is exactly why a checklist beats relying on memory. Paint finish issues top the list: missed patches behind radiators, drips on skirting boards, and inconsistent sheen where two coats weren’t applied evenly. Poorly fitted doors and windows are close behind, either sticking in the frame or failing to seal properly, which becomes obvious the first time it rains or gets cold.
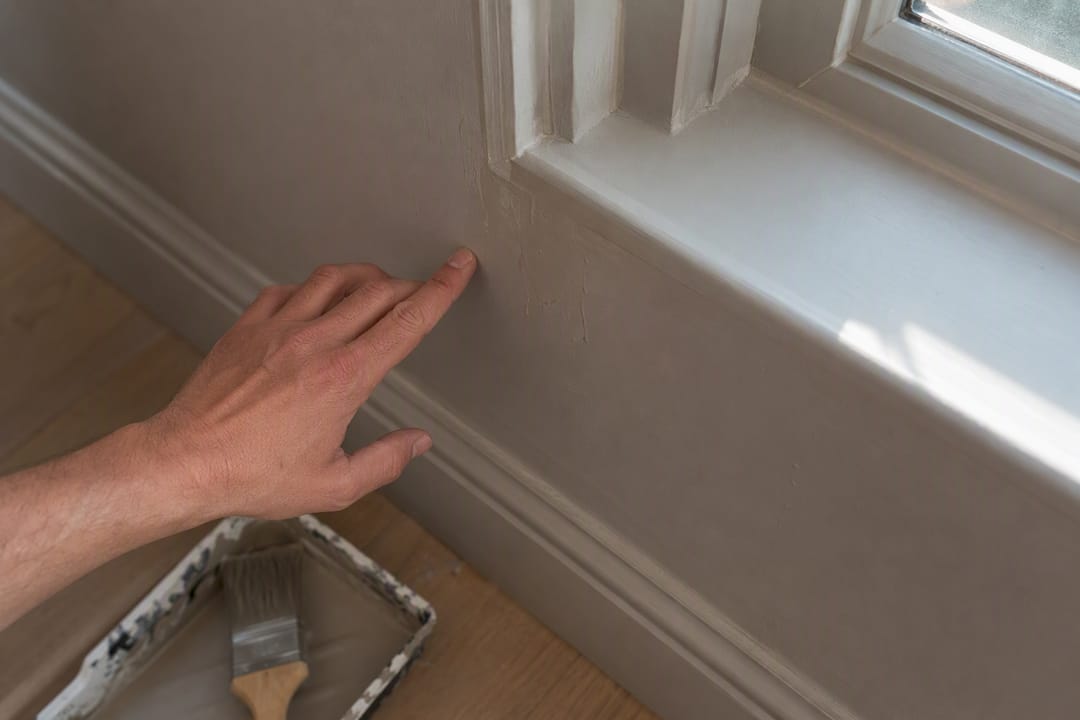
Plumbing throws up recurring problems too: dripping taps, slow-draining basins, and waste pipes that weren’t properly sealed under sinks. Electrical snags tend to be smaller but more numerous, sockets fitted slightly crooked, light switches wired to the wrong fitting, or extractor fans that run but aren’t ducted anywhere useful. Tiling issues, hollow-sounding tiles, uneven grout lines, or trim that doesn’t sit flush, are common enough that a gentle tap test across every tiled surface is worth the extra ten minutes.
Flooring problems often only reveal themselves once furniture goes back in: squeaks near joists, gaps at thresholds, or skirting that doesn’t sit flush against uneven walls. Outside, guttering fixed at the wrong pitch or downpipes that don’t connect properly to drainage are easy to miss unless you specifically check them, and they cause expensive damage if left unresolved through a winter.
How can you tell a cosmetic defect from a structural problem?
Most items on a renovation snag list are cosmetic: paint touch-ups, a scuffed doorframe, a slightly uneven grout line. These need fixing, but they don’t threaten the safety or longevity of your home, and a reasonable rectification window of a few weeks is entirely normal.
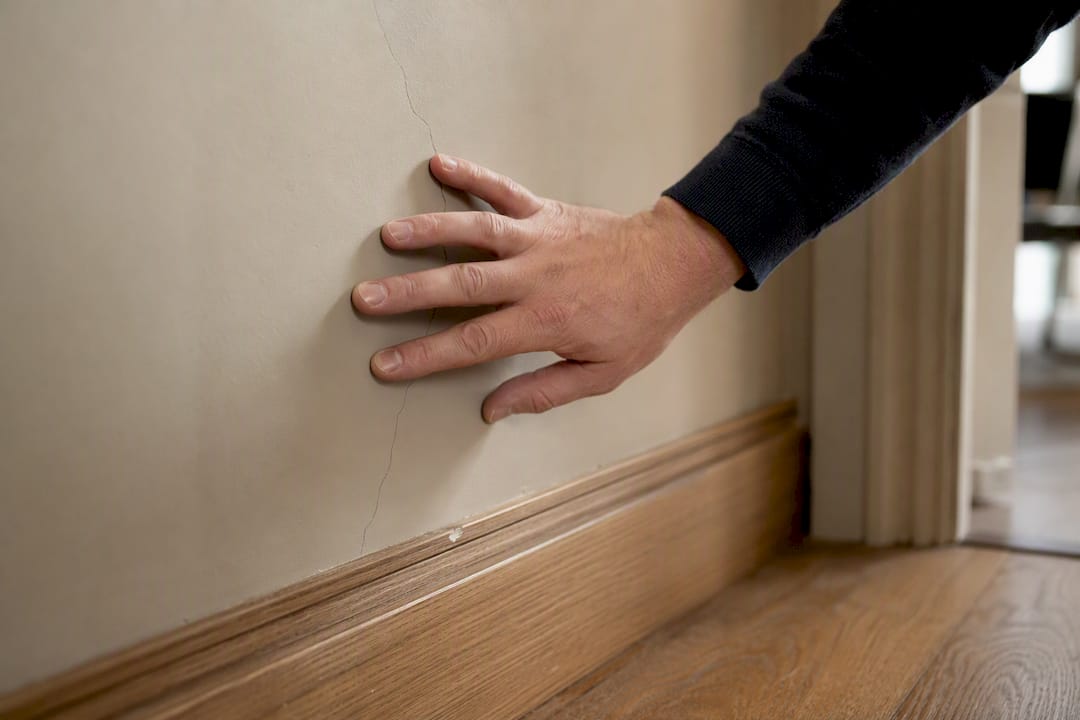
Structural or safety-related problems are a different category altogether, and they deserve a different urgency. Signs to take seriously include cracks that run through brickwork rather than just plaster, doors or windows that have begun sticking across an entire wall (which can indicate movement in the structure), damp patches that weren’t there before work started, or any electrical or gas work that hasn’t been formally commissioned and certified. If services haven’t been signed off by a qualified engineer, that’s not cosmetic; it’s a compliance issue that needs resolving before you consider the project finished.
The practical test is simple: ask whether the issue affects how the building performs or only how it looks. A drip mark on a skirting board is cosmetic. A crack that’s widened since you first noticed it, or a floor that feels genuinely uneven underfoot rather than just cosmetically imperfect, warrants a second opinion from a structural engineer or your architect before you release any further payment. When in doubt, treat it as significant until someone qualified tells you otherwise.
What are your legal rights and obligations around snagging?
You have more contractual protection than many homeowners realise, but only if you use the process correctly. Under standard UK construction contracts, the contractor’s duty to remedy defects continues through the defects liability period following practical completion, typically for several months, during which the contractor is obliged to return and fix agreed snags at their own cost.
Consumer protection also applies to most domestic renovation work. UK templates commonly reference the Consumer Rights Act 2015 and the Defective Premises Act 1972 as the frameworks giving homeowners recourse if a contractor fails to rectify agreed defects, alongside whatever specific terms sit in your written contract. This is one reason a written, signed snagging list matters so much: verbal agreements are far harder to enforce than a document both parties have dated and signed.
Your main obligation as the homeowner is to be reasonable and specific. Vague complaints (“the finish looks off”) don’t hold up well if a dispute escalates; specific, photographed, dated entries do. The contractor’s main obligation is to attend, assess, and rectify within an agreed timeframe, not to argue that “it’s fine” when you’ve flagged it in writing. If you’re unsure whether an issue is covered under your specific contract terms, it’s worth a brief conversation with a solicitor or your architect before you sign off on final completion, particularly on larger projects like extensions or full refurbishments where the sums involved are significant.
How do you negotiate snagging items with your contractor?
Tone matters more than most homeowners expect. A snagging list framed as collaborative, “here’s what we’ve found, let’s agree a plan,” tends to get faster action than one that reads as an accusation. Most contractors want a smooth handover as much as you do; a defensive reaction usually comes from feeling ambushed rather than from bad faith.
Present the list in person where possible, walking through it item by item rather than emailing a spreadsheet and waiting. This gives the contractor a chance to explain anything you might have misjudged (some finishes genuinely need a few weeks to settle before final assessment) and gives you a chance to see their reaction to each item in real time. Agree dates together rather than dictating them; a date the contractor helped set is a date they’re more invested in hitting.
Keep the written record running alongside every conversation. If a discussion happens on site or over the phone, follow up with a short email summarising what was agreed. This isn’t about distrust; it’s about making sure both sides remember the same version of events three weeks later. Our guide on avoiding renovation delays covers scheduling pressures that often sit behind slow snag resolution, which can help you set realistic expectations from the outset.
If a contractor genuinely stalls despite a clear, agreed list, escalate calmly: a formal written reminder referencing the signed document, followed by a clear statement that final payment or retention release is contingent on rectification, usually resolves things without needing to involve solicitors.
What do snagging issues typically cost to put right?
Most cosmetic snags carry surprisingly little cost when caught early: a paint touch-up or a repositioned socket cover might take a tradesperson twenty minutes. The expense escalates sharply once snags go unnoticed until after the contractor has left site, because you’re then paying someone unfamiliar with the project to diagnose and fix a problem, often at a call-out rate that dwarfs the cost of the original fix.
Plumbing and electrical snags sit in the middle. A dripping tap or a poorly sealed waste pipe is a modest fix if the original plumber returns under the defects liability period, but becomes a proper invoice if you’re calling in a new tradesperson months later. The same logic applies to extractor fans, sockets, and lighting circuits: cheap to correct while the original electrician is still contractually obliged to return, expensive once that window closes.
Structural or compliance issues carry the real financial risk. An uncertified gas or electrical installation, or a genuine structural concern like a widening crack, can cost significantly more to resolve and may affect your home insurance or future sale if left undocumented and unresolved. This is precisely why retention money exists: it keeps a meaningful sum in your hands until the contractor has demonstrated the work is genuinely finished, rather than leaving you to fund fixes out of pocket after they’ve moved on to the next job.
Should you hire a professional snagging surveyor or inspect yourself?
A DIY inspection works well for smaller projects: a single bathroom, a kitchen refurbishment, or minor works where you understand the scope well enough to judge quality yourself. Following a structured room-by-room checklist and photographing everything in daylight will catch the majority of issues on a project of this size, and it costs you nothing beyond your time.
Larger or more technically complex projects change the calculation. A full property renovation, a loft conversion, or a multi-storey extension involves structural work, complex services, and building regulations compliance that’s genuinely difficult to assess without training. A professional snagging surveyor brings a trained eye for issues a homeowner might miss entirely, hairline settlement cracks, subtle damp signs, or ventilation that technically works but falls short of regulations, and their report carries more weight if a dispute ever escalates.
The sensible middle ground for many homeowners is a hybrid approach: conduct your own room-by-room inspection throughout the build using a rolling snag list, then bring in a professional surveyor for one thorough inspection close to completion, particularly on structural or safety-critical elements. This combines the cost efficiency of doing most of the work yourself with the reassurance of an expert check where it matters most.
Where the real risk lies in renovation snagging
Most guidance on snagging treats it as a paperwork exercise, fill in a template, tick some boxes, move on. That undersells what’s actually happening. A snagging list is a negotiation document disguised as a checklist, and the homeowners who get the best outcomes are the ones who understand that from the start, not the ones with the most exhaustive spreadsheet.
The conventional advice to “wait until the end and do one thorough inspection” is where most people go wrong. By the time you’re standing in a finished house with a long list of faults, you’ve lost most of your leverage, the trades have moved on, and every fix now requires a scheduled return visit rather than five minutes with tools already in hand. Rolling snagging throughout the build isn’t just tidier; it’s the difference between a two-line email to a plasterer still on site and a formal callback three weeks later.
If you take one thing from this guide, prioritise timing over template design. The fanciest spreadsheet in the world won’t help you if you inspect too late or release payment too early. Get the timing right, and even a basic list does its job.
How Tenen Ltd supports your snagging inspection and rectification
Running your own inspection is entirely achievable on smaller jobs, but on larger renovations, extensions, or loft conversions, having someone independent walk the property with you catches things a checklist alone won’t. Tenen Ltd manages this as part of our project delivery across West and Central London: a formal on-site inspection at practical completion, a written snagging schedule with photographs against every item, and a follow-up verification visit once the agreed rectifications are complete.

When you book a survey with us, you get a site visit from our team, a documented schedule with clear priority classifications and agreed dates, and coordination directly with the trades responsible so you’re not stuck chasing separate contractors for a single fault list. If you’re partway through a full property refurbishment or approaching handover on an extension or loft conversion, get in touch to arrange a snagging inspection and managed rectification before you release final payment.
Sources
Recommended
Comments