
Photograph and Test Before Plaster: First Fix vs Second Fix UK
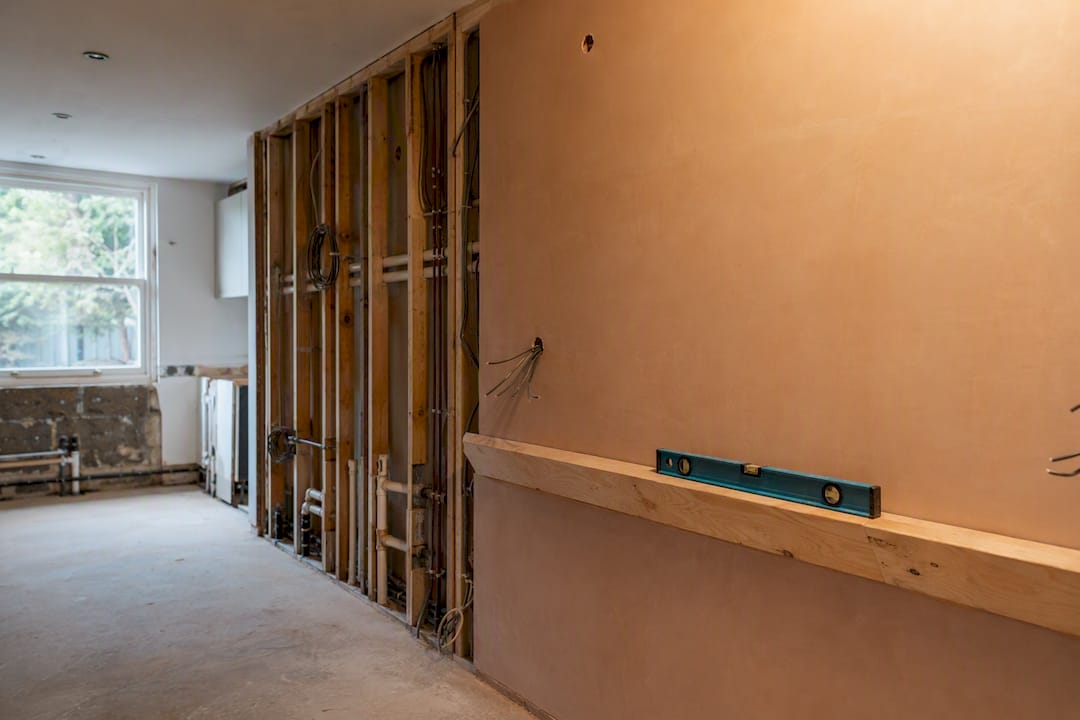
First fix is the hidden infrastructure stage of a build, covering carpentry, cabling and pipework, completed before plastering begins. Second fix follows once walls are dry, and covers the visible fittings, joinery and finishes you’ll actually live with. The trades differ, the risks differ, and getting the sequencing wrong is one of the fastest ways to add weeks to your renovation.
TL;DR:
Proper documentation of concealed work including photos and test certificates before plastering prevents costly rework and disputes.
The timing of second fix tasks depends on drying times, weather conditions, and timely delivery of bespoke items, often extending project schedules by several weeks.
Coordination by a single manager significantly reduces delays, damage, and miscommunication during the complex sequencing of trades and deliveries.
Delays in delivery or improper initial checks can lead to damage or rework, especially for fragile finishes and high-value fittings that require extra protection.
A thorough first fix review and sign-off process ensures trades are correctly positioned, minimizing costly adjustments during second fix.
Table of Contents
First fix vs second fix: understanding the two building stages
What is first fix? Carcassing, cables and pipework before plastering
What is second fix? Fittings, joinery and the finishes you’ll live with
How long does each stage take, and what happens between them?
Let a single point of contact manage your first and second fix
First fix vs second fix: understanding the two building stages
The line between the two stages is drawn at one specific moment: plastering. Everything that happens before internal walls are plastered counts as first fix, and everything that happens after belongs to second fix, according to the widely used industry distinction. It’s a simple rule, but it carries real weight on site.
First fix is the structural skeleton and the services running through it, stud walls, cable runs, pipework, all installed and checked before anything gets covered up. Second fix is what you see and touch: sockets, taps, skirting, doors. This split exists because it lets separate trades work in a logical order without constantly retracing steps, and it gives your contractor a clean way to report progress. When someone tells you a job is “through first fix”, they mean the shell and services are done and plastering is next. When you hear “into second fix”, it means the walls are dry and the finishing trades have arrived.
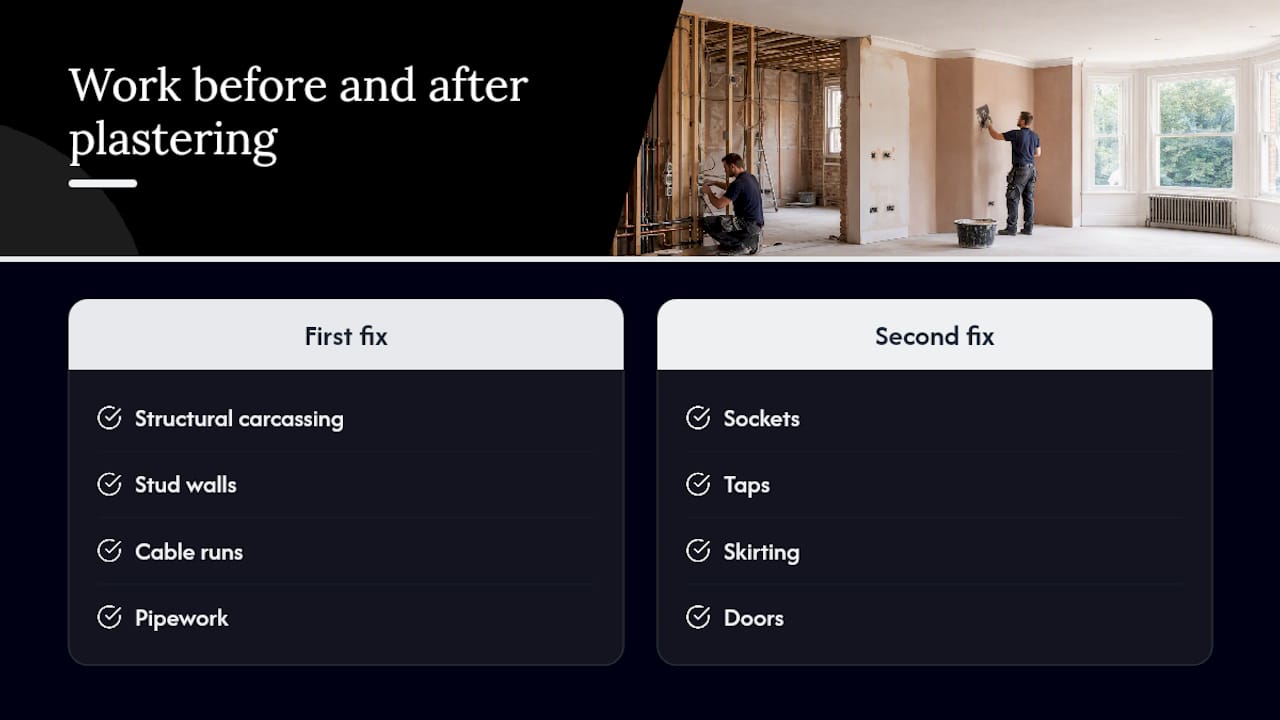
For homeowners, the practical value of knowing this split is straightforward. It tells you exactly when to make final decisions about socket positions, tap locations and light switch heights, because once the plasterer has been in, changes become expensive and disruptive. It also tells you when to expect which trades on site, so you’re not surprised when a plumber vanishes for three weeks and a plasterer takes over the house.
What is first fix? Carcassing, cables and pipework before plastering
First fix covers every hidden system that needs to be in place before walls can be closed up. Think of it as building the nervous system and skeleton of the house before the skin goes on.
Typical first fix tasks include:
Structural carpentry: floor joists, roof timbers and stud partition walls
Doorframes and floor battens, fitted before floor coverings go down
Electrical first fix: cable runs threaded through walls and ceilings, with back boxes installed for sockets and switches
Plumbing first fix: pipe runs for hot and cold water, waste pipes, and heating pipework
Ducting for mechanical ventilation with heat recovery (MVHR) systems, where the property has one
Before any of this gets buried behind plasterboard, it needs testing following a detailed checklist to ensure safety and compliance. Electricians typically carry out dead testing on cable runs to confirm continuity and insulation resistance before concealment, catching faults while they’re still cheap to fix. Plumbers run pressure tests on pipework for the same reason. A leak found now costs an afternoon; a leak found after second fix can mean lifting flooring and stripping out finished walls.
Confirm exact socket heights, switch positions and appliance dimensions with your contractor before this stage closes out. A carpenter builds stud walls to the joiner’s drawings, an electrician runs cables to agreed positions, and a plumber routes pipework to match your kitchen or bathroom layout. If those positions are wrong and nobody spots it until second fix, you’re paying to chase out fresh plaster to move a socket six inches to the left.
What is second fix? Fittings, joinery and the finishes you’ll live with
Second fix begins once the plaster is dry and starts turning bare walls into a finished home. This is where the visible, tactile parts of the project come together, and it’s the stage most homeowners find genuinely exciting.
Typical second fix tasks include:
Fitting sockets, switches and light fittings onto the first fix back boxes
Connecting sanitaryware: baths, basins, toilets and taps
Fit-out joinery: internal doors, architraves, skirting boards and fitted furniture
Installing radiators and completing the heating system
Laying final flooring and tiling
Timing matters more here than most homeowners expect. Bespoke joinery, kitchen units and specific appliances often carry lead times of several weeks, and poor coordination of these deliveries is a common cause of programme overruns. Order too late and your finishing trades sit idle waiting for a kitchen that hasn’t arrived. Order too early and you’re storing expensive items on a live building site.
Second fix also carries a higher risk of damage than any other stage. Freshly painted walls, polished floors and delicate fittings are all vulnerable while multiple trades are still moving through the property. This is where some projects introduce a third fix, a final pass reserved for high-value or fragile items such as chandeliers, integrated appliances or bespoke joinery, fitted only once the site is close to handover to reduce the risk of damage or theft.
How long does each stage take, and what happens between them?
The sequence on a typical London refurbishment or extension runs in a fairly consistent order, though the timings flex depending on the property and the season.
The building is made wind and watertight, roof on, windows and doors fitted
First fix carpentry, electrics and plumbing are completed and tested
Plastering and skimming take place across the property
Plaster and any floor screed are left to dry and cure
Second fix begins once surfaces are dry enough to work on
Snagging and final handover follow second fix completion
Drying times are where schedules most often slip. A standard floor screed typically needs a typical floor screed needs several weeks to cure before it can take weight and finishes, and plaster drying is weather dependent, slower in cold, damp winter months than in a warm summer. Rushing this stage risks trapping moisture behind finishes, which shows up later as cracking or mould.
From the start of second fix to practical completion, expect a number of weeks rather than days, extended by anything bespoke: made-to-measure kitchens, imported tiles, or joinery built off site. Building in contingency for deliveries and staging trade visits around drying times, rather than assuming everyone can start the moment plaster looks dry, keeps the programme realistic.
Electrical and plumbing checks between first and second fix
The gap between first and second fix is where the most important, and least visible, quality checks happen. Get this stage right and second fix runs smoothly; skip it and you’re chasing faults through finished walls.
On the electrical side, ask for confirmation that dead testing has been carried out on every cable run before plastering, checking continuity and insulation resistance while the wiring is still accessible. UK electrical work should be carried out to BS 7671, the wiring regulations that govern safe installation, and you’re entitled to ask for test certificates as part of the handover record.
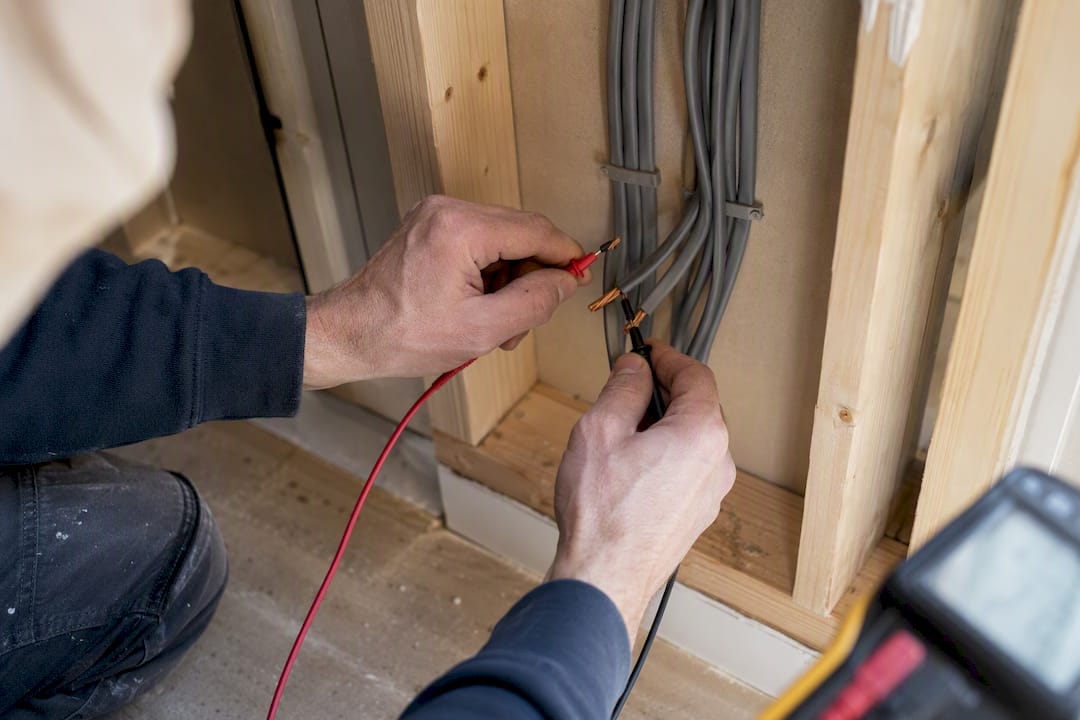
Plumbing needs equivalent rigour: pressure testing of pipework and a check of riser routes before anything is boxed in or tiled over.
Practical checks worth requesting:
Photographs of every concealed cable run and pipe route before plastering
Copies of electrical dead-test reports and plumbing pressure-test certificates
A brief walk-through sign-off with your contractor before plastering starts
Pro Tip: Ask your contractor to timestamp and label photos by room before plastering begins. It costs nothing and saves hours of guesswork if you ever need to locate a pipe or cable behind a wall.
Common pitfalls at second fix and how to avoid them
Most second fix problems trace back to a first fix that wasn’t properly checked or recorded. A back box installed six inches off the agreed position, a pipe stub-out in the wrong spot for a vanity unit, these are cheap to fix before plastering and expensive afterwards.
Damage to finished surfaces is the other recurring issue. Freshly laid flooring, painted walls and fitted joinery are all at risk once multiple trades are moving through the property at once, and site protection measures such as temporary floor coverings, taped edge guards and restricted access on certain days materially cut down on damage claims and rework.
Late deliveries of appliances or bespoke joinery are a near-universal frustration, and they’re avoidable with proper lead-time planning against your chosen materials.
Reduce these risks by insisting on:
A written schedule of works with agreed milestones and sign-off points
Photographic records and test certificates held on file, not just promised verbally
Staged deliveries timed against the second fix programme rather than delivered all at once
Because trades sometimes interpret “first fix” and “second fix” slightly differently, a clear, documented schedule of works heads off disputes about what’s actually included at each stage. Avoiding these traps is exactly the kind of detail covered in our guide to common renovation mistakes.
Your first fix and second fix checklist
Keep this short list on hand as trades move through each stage, and hold onto every certificate for your final handover pack.
First fix: confirm socket, switch and pipe positions against drawings; take dated photos of every concealed run; request electrical dead-test and plumbing pressure-test records before plastering starts.
Second fix: verify appliance and fitting dimensions against delivery specs; confirm delivery dates for bespoke joinery; protect finished surfaces; compile a snagging list before final sign-off.
Stage | Key action | Why it matters |
First fix | Photograph and test concealed work | Avoids costly rework once walls are closed |
Second fix | Confirm delivery dates and protect finishes | Prevents delays and damage to fitted work |
Handover | Retain all certificates and sign-offs | Needed for warranties and future works |
A contractor’s priority when managing first and second fix
The single habit that prevents most disputes is simple: get concealed work specified precisely and signed off with photos before plastering starts. Everything else, scheduling, deliveries, protecting finishes, becomes manageable once that record exists. This refurbishment process is built around exactly that discipline.
— Mateja
Let a single point of contact manage your first and second fix
Coordinating carpenters, electricians, plumbers and plasterers around drying times and delivery windows is where most self-managed projects lose weeks. This sequencing can be run in-house, with director oversight keeping first fix testing, plastering, and second fix deliveries on one coordinated programme rather than several separate ones you have to chase yourself.
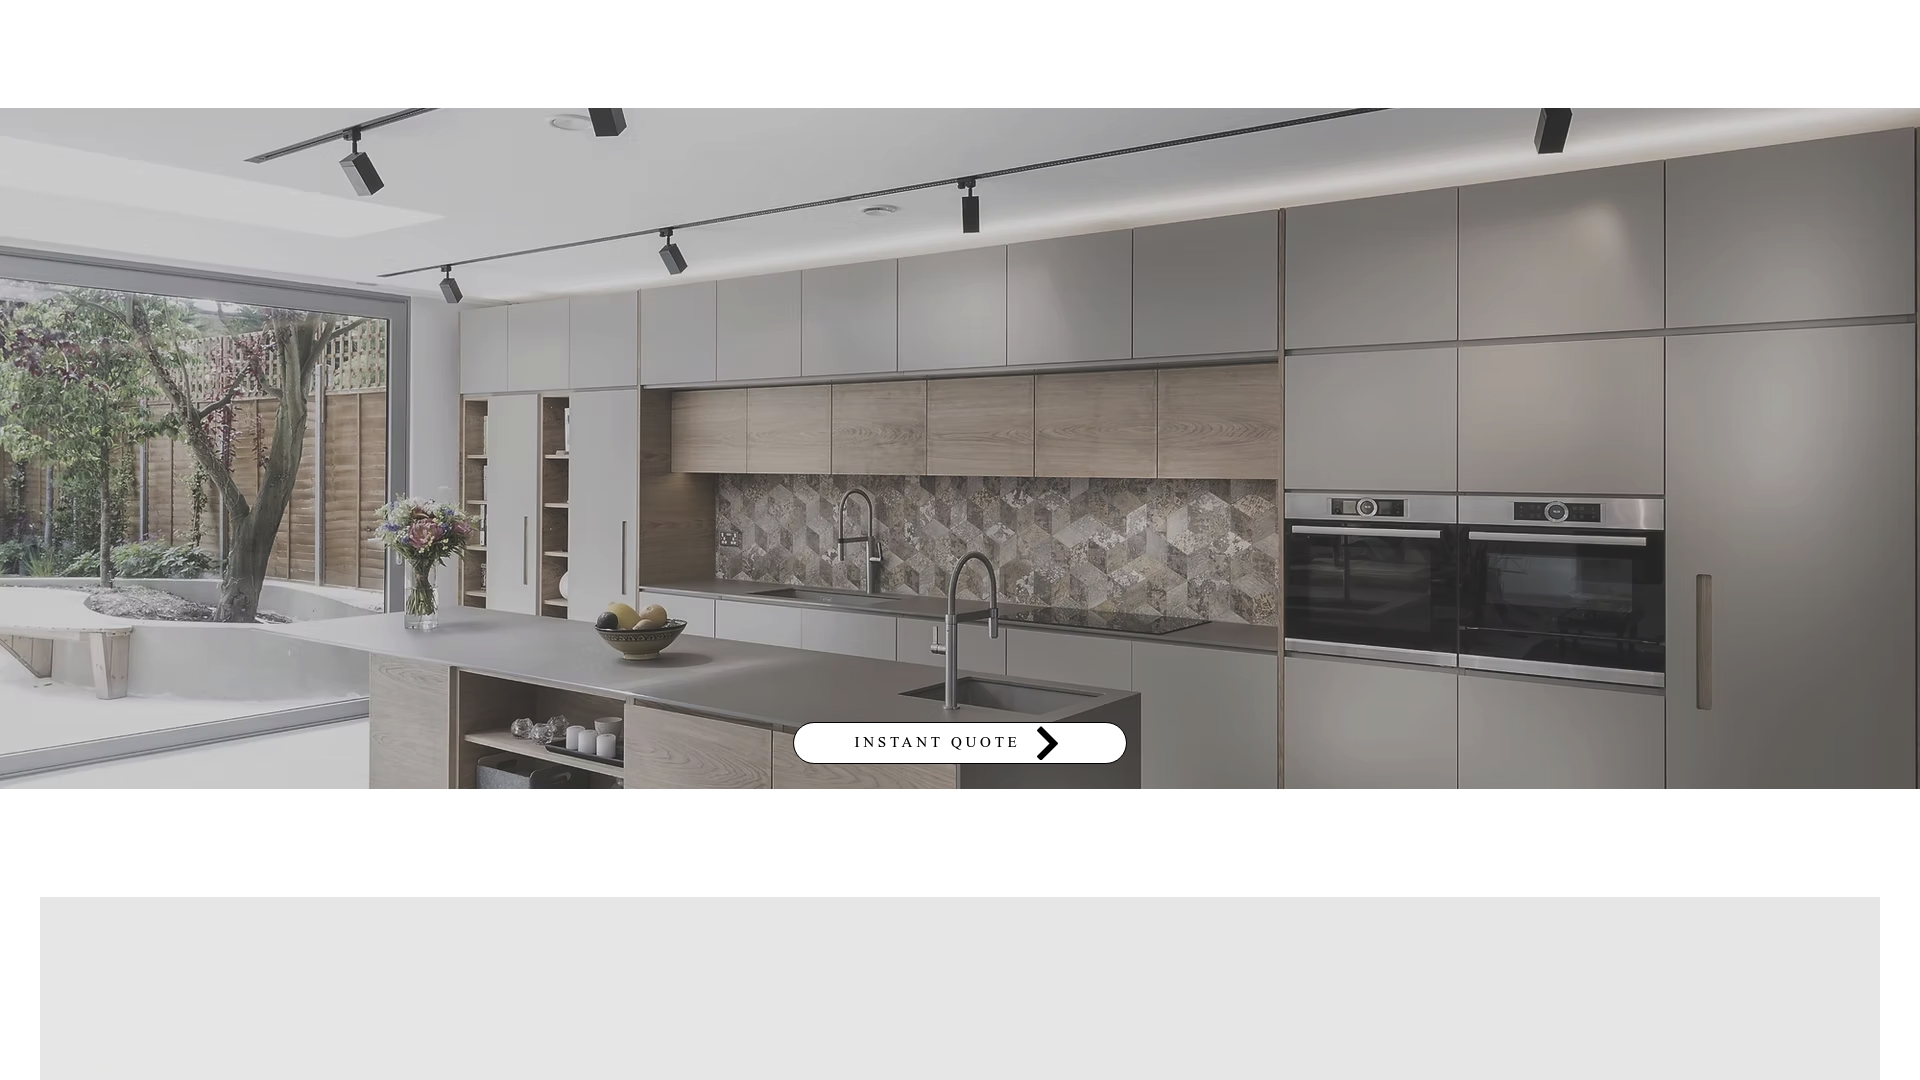
If you’re planning a loft conversion, extension or full refurbishment across London, that coordination is where a managed contractor earns its keep, particularly on projects with bespoke joinery or high-spec fittings where late deliveries cause the most damage to a programme. Get in touch for a site survey and an itemised quotation, and see our home extension services for how we structure first and second fix on a live project from day one.
Sources
FAQ
What’s the difference between first fix and second fix?
First fix is the hidden structural and services work, carpentry, cabling, pipework, completed before plastering. Second fix is everything visible fitted afterwards, sockets, sanitaryware, joinery and flooring.
How long after second fix to completion?
It typically runs several weeks from the start of second fix to practical completion, depending on how much bespoke joinery, tiling or fitted furniture the project involves.
What is first fix, second fix and third fix?
First fix is concealed carcassing and services, second fix is visible fittings and finishes, and third fix is a final stage reserved for high-value or delicate items like chandeliers or integrated appliances, fitted close to handover to limit damage risk.
Do I need a different nail gun for first fix and second fix?
Yes, broadly. First fix work typically uses a framing nailer for structural timber, while second fix joinery like skirting and architrave calls for a finer finish nailer that leaves smaller, easier to fill holes.
How do I know if first fix electrical work has been properly tested?
Ask your electrician for dead-test results confirming continuity and insulation resistance, carried out to BS 7671 standards, before plastering begins.
Recommended
Comments