
LED Downlight Spacing for Homeowners: 50–60cm from Cabinets

For most rooms, space your downlights at roughly half the ceiling height, so a standard ceiling calls for spacing roughly half that distance between fittings. Kitchens need tighter spacing plus a 50 to 60cm offset from wall cabinets so beams land on the worktop, not the cabinet face. Typical targets are 300 lux in kitchens, 150 lux in living rooms and 100 lux in bedrooms, and we’ll walk through the calculations next.
TL;DR:
Multiply mounting height above the work surface by the fixture’s stated spacing to height ratio; a 2.4 meter height and 0.7 ratio yield 1.68 meters.
Kitchens target about 300 lux; measure spacing from the worktop, usually 90 centimeters above the floor, and place fittings 50 to 60 centimeters from wall cabinets.
Living rooms generally target 150 lux, while bedrooms need about 100 lux; wider spacing and warmer light suit bedrooms better than a bright, tight grid.
Estimate one fitting per 1.5 to 2 square meters, then adjust the count for target brightness, joist positions, symmetry, and dimmer compatibility.
Check bathroom zone ratings and insulation contact ratings before installation; joist, fire ceiling, or wiring constraints call for a qualified electrician.
Table of Contents
General spacing rules and the Spacing-to-Height Ratio explained
The quickest starting point is ceiling height divided by two. Some installers prefer slightly wider multipliers, such as 1.2 or 1.5 times the mounting height above the working plane, which can work well for open-plan spaces with higher ceilings.
For a more accurate figure, look at the Spacing-to-Height Ratio (SHR) quoted in the luminaire’s photometric data. True uniformity comes from this ratio rather than a flat rule of thumb, because it accounts for how each fitting actually distributes light, not just how high it sits.
The formula is straightforward:
Work out your mounting height above the working plane (ceiling height minus the height of the surface you’re lighting, often desk or worktop height).
Multiply that figure by the SHR stated by the manufacturer.
The result is your maximum spacing, S_max.
So for a 2.4 metre ceiling lighting a floor at 0 metres, with an SHR of 1.0, your maximum spacing is 2.4 metres. Drop the SHR to 0.7 for tighter beams and you’re down to 1.68 metres. Always check the datasheet before committing to a layout.
Room-by-room guidance: kitchens, living rooms, bedrooms and bathrooms
Different rooms do different jobs, so spacing and brightness should shift with them.
Kitchens: measure from worktop height, typically 90cm above the floor, rather than the floor itself, since this is your real working plane and it tightens the effective spacing you need, and offset fittings 50 to 60cm from wall cabinets, regardless of ceiling height, aiming for around 300 lux.
Living rooms: around 150 lux of soft, even ambient light suits most layouts, and wider spacing tends to feel more relaxed than the tighter grid a kitchen needs.
Bedrooms: roughly 100 lux is enough for a calm, comfortable feel, so a warmer colour temperature and a looser layout generally work better than bright, evenly gridded downlights.
Bathrooms: fittings must carry the correct IP rating for the zone they sit in, since proximity to water changes what’s safe to install above a bath or shower.
Our kitchen lighting ideas page has more inspiration if you’re planning a fuller scheme rather than a single run of downlights.
How to calculate how many downlights you need
Two approaches cover most homes, depending on how precise you want to be.
Area method: a practical starting point is one downlight per 1.5 to 2 square metres of floor area, adjusted to meet your target lux. For a typical room of that size might need several fittings before fine-tuning.
Lux or lumen method: multiply your target lux by the room’s floor area, then divide by the lumen output of a single fitting, building in a maintenance factor to allow for dimming and ageing of the lamp over time.
Once you have a rough count, finalise the layout around symmetry, ceiling joist positions and dimmer compatibility rather than forcing the exact number the maths suggests.
Beam angle and wall distance: preventing scalloping and dark patches
Beam angle changes how far light spreads once it leaves the fitting, which has a direct effect on spacing.
A narrow beam concentrates light tightly, so fittings generally need to sit closer together to avoid dark gaps between pools of light.
A wide beam spreads further, allowing more generous spacing without losing even coverage.
Keep the first row of downlights roughly 0.33 to 0.5 times the spacing distance away from the wall, or about half the spacing figure, to stop a dark band forming along the edge of the room.
Avoid mixing beam angles within the same ceiling plane, since the uneven cones of light create the scalloped, patchy look most homeowners are trying to avoid.
Safety, standards and regulatory basics a homeowner should know
A handful of standards sit behind every safe downlight installation.
Fittings and wiring should meet BS EN 60598 and BS 7671, the core references for electrical safety in any domestic lighting job.
Check the IC rating before boxing a downlight in with loft insulation, since contact with unrated fittings is a recognised fire risk.
A fire hood restores the fire resistance lost when a hole is cut through a compartment ceiling, a point Approved Document B and IET guidance both address.
In bathrooms, match the fitting’s IP rating to the zone it sits in, since the splash risk varies by distance from the bath or shower.
Practical installation tips and a short DIY checklist
Getting the physical install right matters as much as the maths.
Confirm the void depth above the ceiling fits your chosen fitting before cutting anything, and consider surface-mounted alternatives where headroom is tight, a common fix when joists or insulation leave little room to spare.
Wire through accessible junction boxes or loop-through-switch connections rather than hidden joints buried above plasterboard, keeping future maintenance straightforward.
Use maintenance-free connectors, label circuits clearly, and test every fitting before closing up the ceiling.
Work through a short checklist before you start: mark offsets, confirm lumen output and beam angle, check dimmer compatibility, then test and document each circuit.
Pro Tip: Keep a simple plan of your final layout and wiring routes. It saves time on the next job, whether that’s a repair or a full refurbishment.
If you’re reworking insulation around new downlights, our partners at Spray Foam Removal Help cover roof retrofit options that keep loft clearances compliant.
A worked kitchen layout from a typical London refurbishment
On a 3.6 by 2.8 metre kitchen with a 2.4 metre ceiling, measuring from a 90cm worktop gives an effective mounting height of 1.5 metres, suggesting spacing of around 1.2 to 1.5 metres between fittings once SHR is applied. On site, existing wiring routes, joist positions and insulation depth often shift the final layout slightly, which is exactly where experienced judgement earns its keep.

When the maths meets the real ceiling
The spacing rules above get you close, but existing joists, fire-rated ceilings, multi-room circuits and bathroom IP zones are where small errors become expensive ones. If any of those apply to your project, bringing in a qualified electrician is the safer route.
— Mateja
Planning a kitchen lighting scheme with Tenen Ltd
If you’d rather hand the calculations, wiring and compliance checks to someone else, our kitchen refurbishment service covers lighting layout as part of the wider project, led by director oversight from first visit to final fitting.
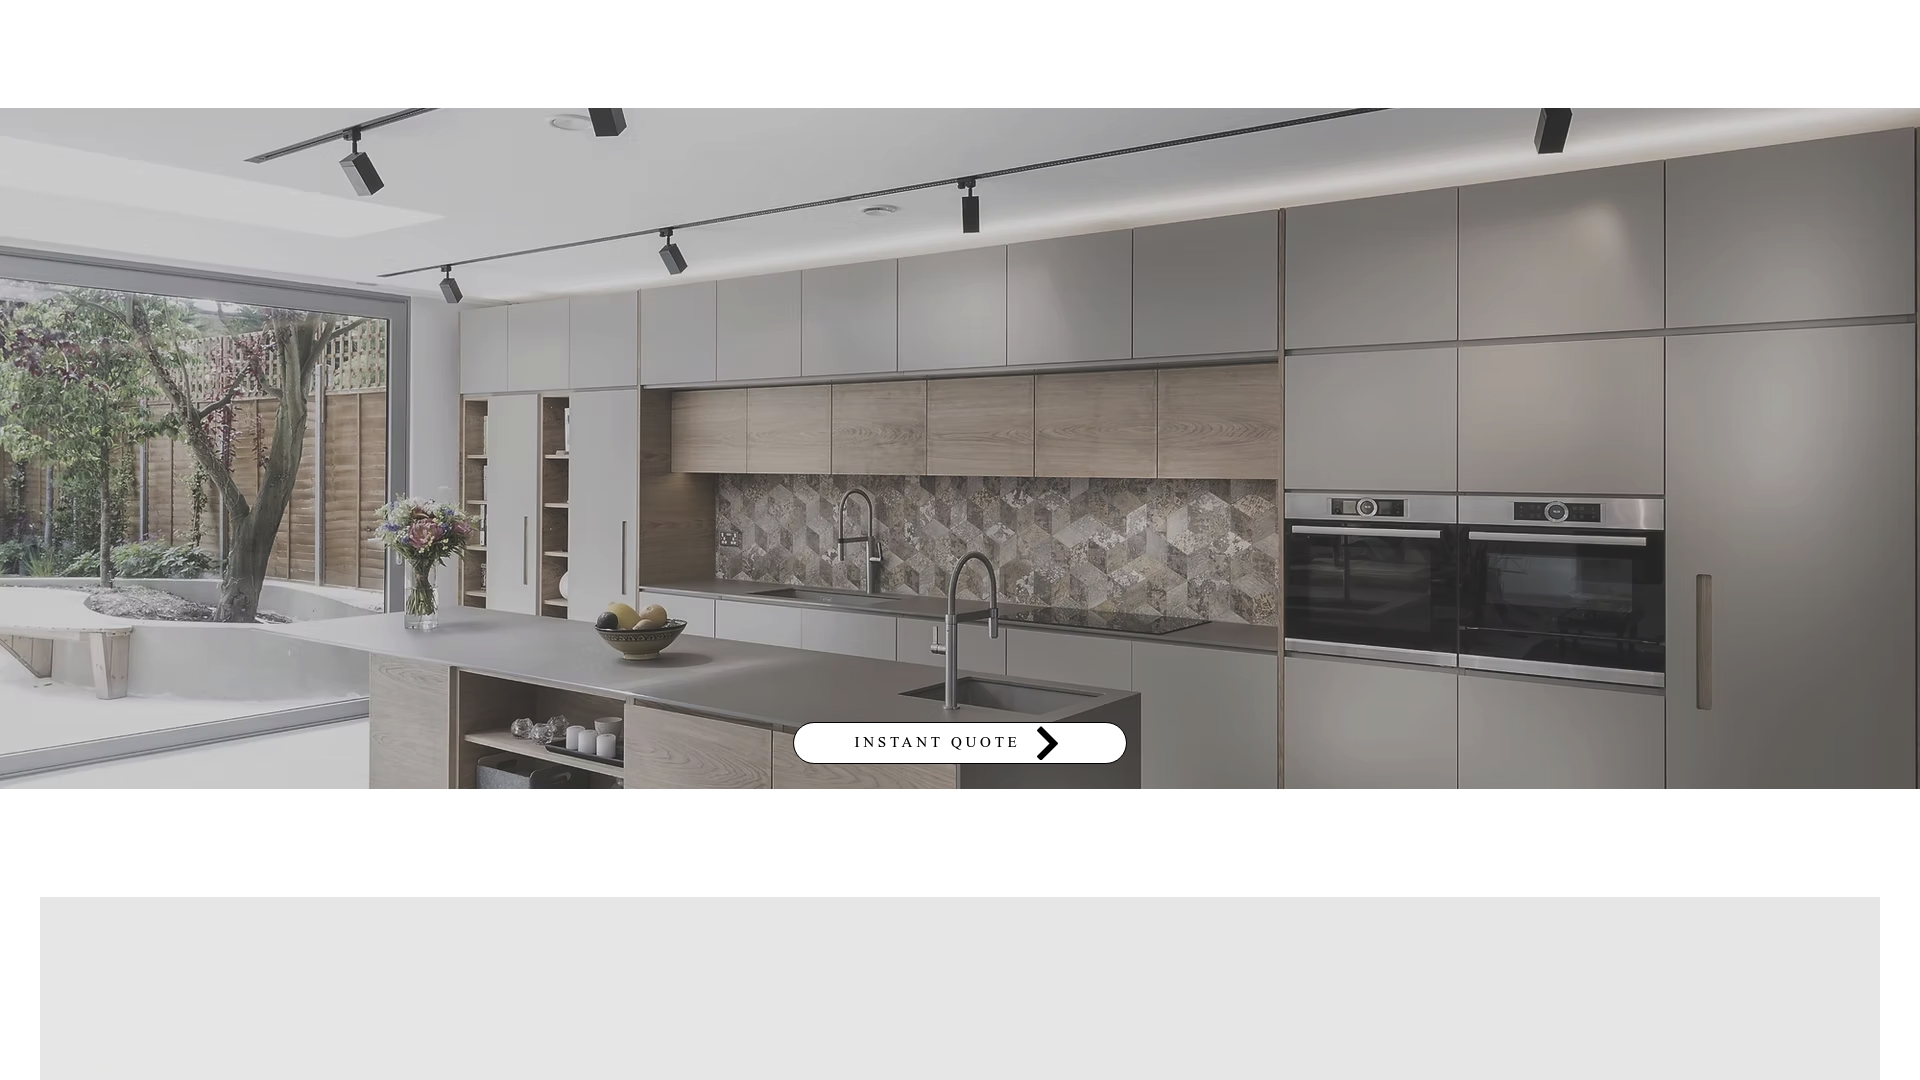
We survey your space, confirm ceiling and joist layout, and plan spacing before any cutting begins.
Fixed, itemised quotes mean no surprises once work starts.
Insurance-backed warranties cover the electrical work alongside the wider refurbishment.
Get in touch through our kitchen refurbishment page to arrange a site visit and quote for your project.
FAQ
What is the recommended spacing between downlights?
A common starting rule is ceiling height divided by two, though checking the manufacturer’s Spacing-to-Height Ratio gives a more accurate maximum spacing for your specific fitting. Kitchens typically need tighter spacing than living rooms or bedrooms because task lighting demands more even, brighter coverage.
What is the recommended spacing for LED ceiling lights?
The same half-ceiling-height rule applies as a quick guide, adjusted using the fitting’s SHR for a precise figure. Beam angle also matters: narrower beams need closer spacing, while wider beams allow more generous gaps between fittings.
How close can an LED downlight be to a joist?
Downlights should sit within the available void without touching loft insulation unless the fitting is specifically rated for insulation contact, as IET guidance sets out. Where joist spacing restricts fitting position, a fire hood or boxing-in can help restore ceiling fire resistance without moving the downlight.
How many downlights for a 3x3 bedroom room?
For a typical bedroom size, the area method suggests roughly four to six downlights at one per 1.5 to 2 square metres, adjusted to reach around 100 lux. Final placement should still account for beam angle, wall offset and any existing joists before fittings go in.
Sources
Recommended
Comments