
Kitchen lighting ideas that transform your space
- luka bursac
- Jun 2
- 8 min read
TL;DR:
Effective kitchen lighting relies on four layered circuits—ambient, task, accent, and decorative—to create a functional and inviting space. Matching all fixtures to approximately 3000K ensures visual harmony, with under-cabinet LEDs being the most impactful upgrade. Proper planning and independent dimming controls prevent shadows and allow flexible mood adjustment for everyday use.
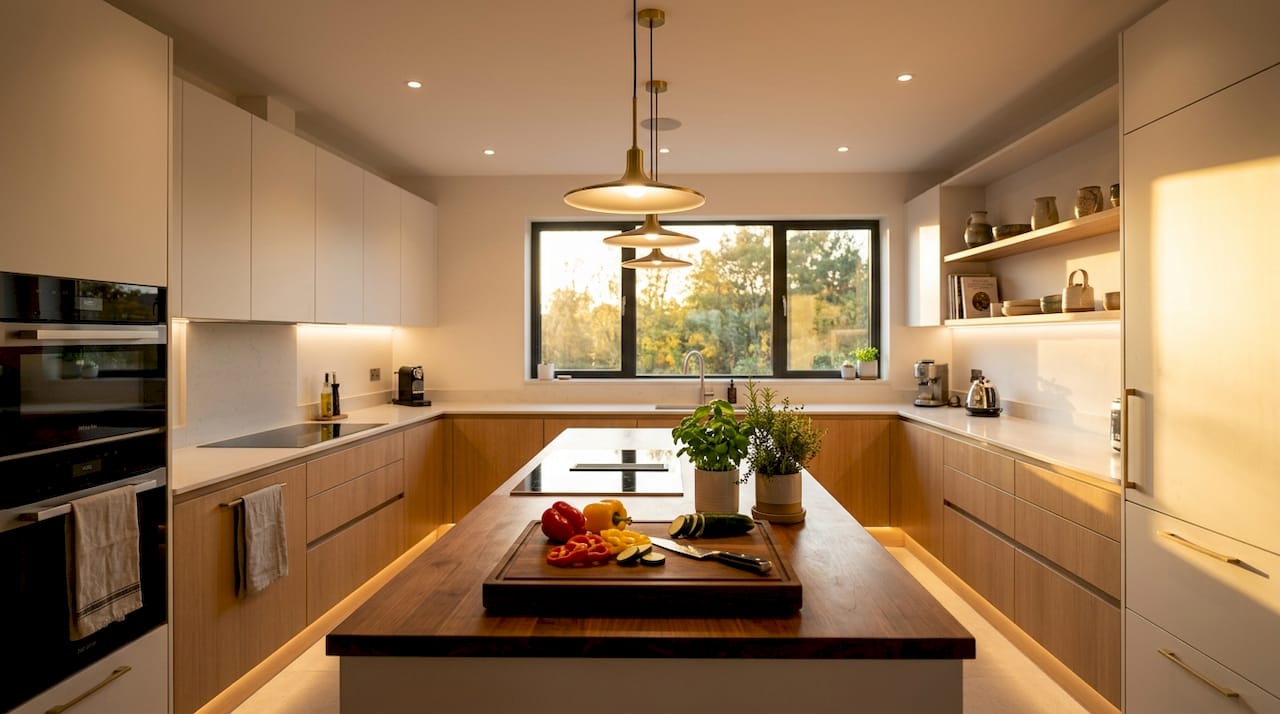
Kitchen lighting design is the single most overlooked element in home renovation, yet it determines whether your kitchen feels functional, welcoming, or frustratingly dim. The professional term for what most homeowners call “kitchen lighting ideas” is layered illumination, a method that combines ambient, task, accent, and decorative light sources into one cohesive system. Designer Linda Hayslett describes lighting as the “jewellery” of the kitchen, and that framing is exactly right. Get it wrong and even a beautifully fitted kitchen feels flat. Get it right and the whole room comes alive.
1. Understanding the four layers of kitchen lighting
Layering ambient, task, accent, and decorative lighting is the foundation of every successful kitchen illumination plan. Each layer serves a distinct purpose, and removing any one of them creates an imbalance that no single overhead fitting can fix.
Ambient lighting provides overall, even illumination across the room. Recessed downlights and flush ceiling mounts are the workhorses here, filling the space so you are never cooking in a cave.
Task lighting targets specific work surfaces. Under-cabinet LEDs, pendant lights over islands, and recessed downlights positioned above prep zones all fall into this category.
Accent lighting draws attention to design features. Backsplash uplighting, interior cabinet lighting, and toe-kick LEDs along the base of units add visual depth without adding glare.
Decorative lighting expresses personality. A statement pendant or a cluster of pendants over a dining area does not just illuminate; it defines the character of the room.
MyHomePros recommends treating each layer as a separate circuit so you can adjust them independently. That single decision gives you enormous flexibility, from bright task mode during meal prep to a warm, low ambient glow for a relaxed evening.
Pro Tip: Plan your four layers on paper before you buy a single fitting. Sketch your kitchen zones, mark where you chop, cook, and dine, and assign a lighting layer to each. This prevents expensive duplication and gaps.
2. Which fixtures suit each lighting layer?
Choosing the right fixture for each layer is where kitchen lighting design moves from theory into practice. The wrong fitting in the wrong position creates shadows, glare, or visual clutter, none of which you want in a room you use every day.
Ambient fixtures
Recessed LED downlights are the most popular choice for ambient illumination in modern kitchens. Flush mounts work well in rooms with lower ceiling heights, typically anything under 2.4 metres, where a recessed fitting is not practical. Both options distribute light broadly and sit neatly out of the way.
Task fixtures
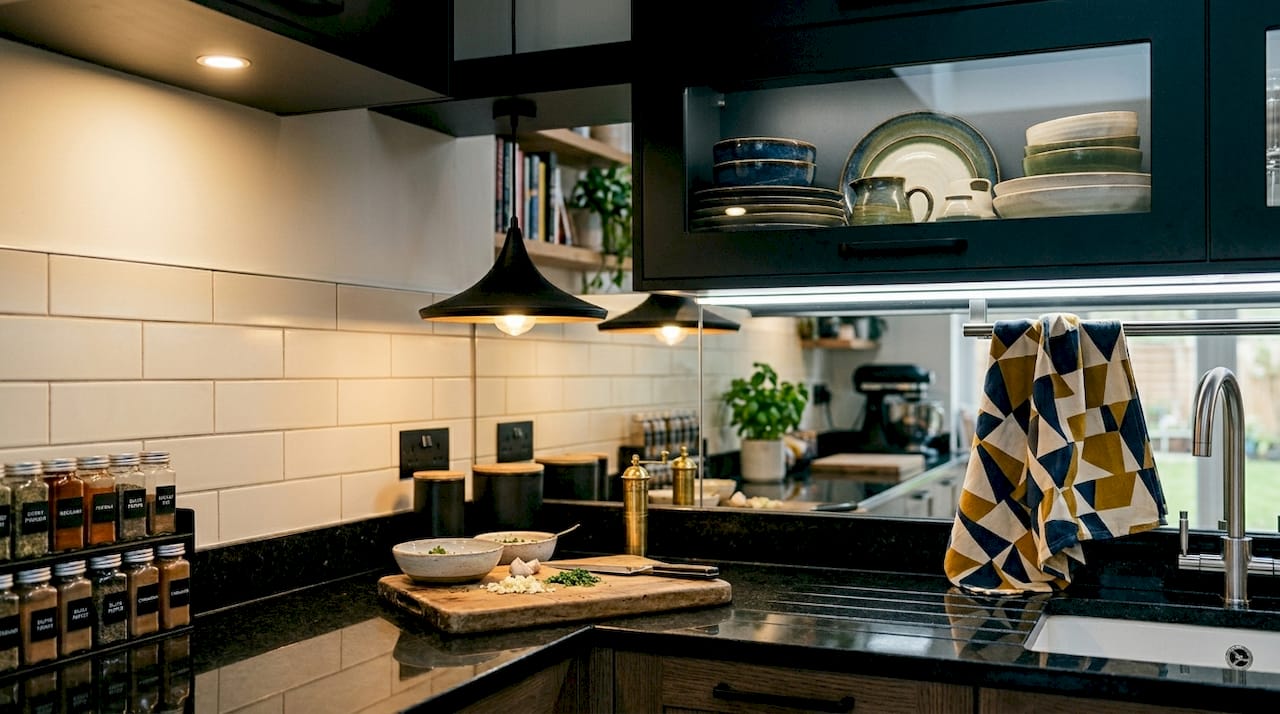
Under-cabinet LEDs offer the highest-impact task lighting and represent one of the best-value upgrades available. Strip lights from brands such as Brilliant Evolution and PRIORARE mount directly beneath wall units and cast direct light onto worktops without shadows from overhead cabinets. Pendant lights hung over a kitchen island serve a dual task and decorative function, provided they are sized and positioned correctly.
Accent and decorative fixtures
Picture lights above open shelving, LED tape inside glass-fronted cabinets, and toe-kick strip lights along the base of units all add accent depth. For decorative impact, multi-light pendants and statement chandeliers work particularly well over islands and dining areas. Statement pendants over islands are considered a priority by a significant proportion of homeowners precisely because they anchor the space and add warmth.
Pro Tip: For pendant lights over an island, position the bottom of the shade 30 to 36 inches above the worktop surface. Incorrect pendant sizing is one of the most common and most visible mistakes in kitchen design.
Lighting layer | Recommended fixture types | Primary function |
Ambient | Recessed downlights, flush mounts | Even overall illumination |
Task | Under-cabinet LEDs, pendants, puck lights | Targeted work surface light |
Accent | Toe-kick LEDs, cabinet interior lights | Visual depth and feature highlighting |
Decorative | Statement pendants, chandeliers | Personality and focal point |
3. How to plan your kitchen lighting layout
A well-planned layout prevents the two most common failures: dark patches over worktops and a ceiling that looks like a grid of random holes. Approach the layout methodically and you will avoid both.
Map your work zones first. Identify where you prep, cook, wash up, and eat. Each zone has different brightness requirements, and your task lighting should follow these zones precisely rather than being distributed evenly across the ceiling.
Calculate your lumen target. Kitchens typically require 6,000 to 16,000 lumens at ceiling level to achieve the recommended foot-candle levels at worktop height. This accounts for the fact that only 50 to 60 percent of ceiling light actually reaches your countertops after absorption by surfaces and cabinetry.
Position recessed lights with care. Recessed LEDs placed approximately 24 inches from walls provide even coverage across countertops without creating harsh shadows at the edges of the room.
Separate each layer onto its own circuit. Independent dimmers for ambient, task, and accent layers give you full control over mood and function. Smart controls from Philips Hue allow you to programme scenes for cooking, dining, and entertaining without touching a switch.
Maintain consistent colour temperature throughout. All bulbs should sit near 3000K to maintain visual harmony across layers. Mixing a 2700K warm white pendant with a 4000K cool white under-cabinet strip creates a jarring, disjointed effect that no amount of dimming will resolve.
Pro Tip: When planning your kitchen layout, include lighting circuits in the electrical specification from the outset. Retrofitting separate dimmer circuits after plastering is costly and disruptive.
Zone | Recommended foot-candles | Suggested lumen output at ceiling |
General ambient | 30 to 40 fc | 6,000 to 10,000 lumens |
Task and prep areas | 50 to 100 fc | 10,000 to 16,000 lumens |
Accent features | 10 to 20 fc | Supplementary, layer-dependent |
4. Affordable and modern kitchen lighting products worth considering in 2026
The market for kitchen lighting has expanded considerably, and you no longer need a large budget to achieve a layered, professional result. Several products tested by Better Homes & Gardens in 2026 stand out for their performance and value.
Philips Hue OmniGlow strip lights are app-controlled, tunable white, and integrate with most smart home systems. You can shift colour temperature from warm to cool depending on the time of day, which is genuinely useful in a kitchen used from early morning through to late evening.
Battery-powered puck lights from brands such as PRIORARE are ideal for renters or for secondary zones where running a cable is impractical. They require no electrician and can be repositioned as your needs change.
Motion-sensor LED tape lights are particularly effective inside deep larder cupboards and under-cabinet zones. The light activates when you open a door or move near the surface, removing the need for a separate switch.
Warm-toned filament bulbs in exposed pendant fittings create an inviting, restaurant-quality atmosphere over dining areas. Paired with a dimmer, they shift from bright and functional to soft and atmospheric in seconds.
Multi-light pendant clusters are among the strongest current trends for kitchen islands. Three or five smaller pendants hung at staggered heights add visual interest and distribute light more evenly than a single large shade.
Smart lighting setups with app-controlled strips and motion sensors also allow you to automate schedules, reducing energy use without any manual adjustment. For a small kitchen, this kind of targeted, efficient lighting is particularly valuable because every fitting needs to earn its place.
Pro Tip: Start your lighting upgrade with under-cabinet LEDs before committing to any other changes. Under-cabinet lighting improves visibility more than any other single upgrade, and it gives you an immediate, tangible result that informs every other decision.
Key takeaways
Effective kitchen lighting requires four distinct layers, each on its own dimmer circuit, with all bulbs matched to approximately 3000K for visual coherence.
Point | Details |
Layer your lighting | Combine ambient, task, accent, and decorative sources for full functionality and atmosphere. |
Match colour temperature | Keep all bulbs near 3000K to avoid jarring contrasts between fixtures. |
Plan lumen output carefully | Ceiling fixtures need 6,000 to 16,000 lumens to compensate for light lost to surfaces. |
Start with under-cabinet LEDs | This single upgrade delivers the most visible improvement to daily kitchen usability. |
Use independent dimmers | Separate circuits for each layer give you flexible control over mood and function. |
What I have learned from years of kitchen lighting projects
The most consistent mistake I see homeowners make is treating kitchen lighting as an afterthought. They finalise the cabinetry, the worktops, and the splashback, and then ask about lighting in the final week before installation. By that point, the electrical first fix is done, the ceiling is plastered, and adding a separate dimmer circuit for accent lighting means opening up walls. That is an expensive lesson.
The second most common error is pendant sizing. Homeowners see a beautiful oversized pendant in a showroom and order it for a modest island. The result is a fitting that visually overwhelms the space and hangs too low for comfortable use. The 30 to 36 inch rule from worktop to pendant base is not a suggestion; it is a practical minimum for comfortable sight lines and safe clearance.
What I would tell any homeowner planning a kitchen renovation is this: spend as much time on your lighting plan as you do on your cabinet specification. The cabinets define the structure of the room, but the lighting defines how it feels to be in it. A kitchen with average cabinetry and excellent layered lighting will always feel better than a kitchen with premium units and a single ceiling rose. Start with the under-cabinet LEDs, get the dimmers in from the first fix, and match your Kelvin values across every fitting. Those three steps alone will put your kitchen ahead of most.
— Mateja
Transform your kitchen with Tenenltd
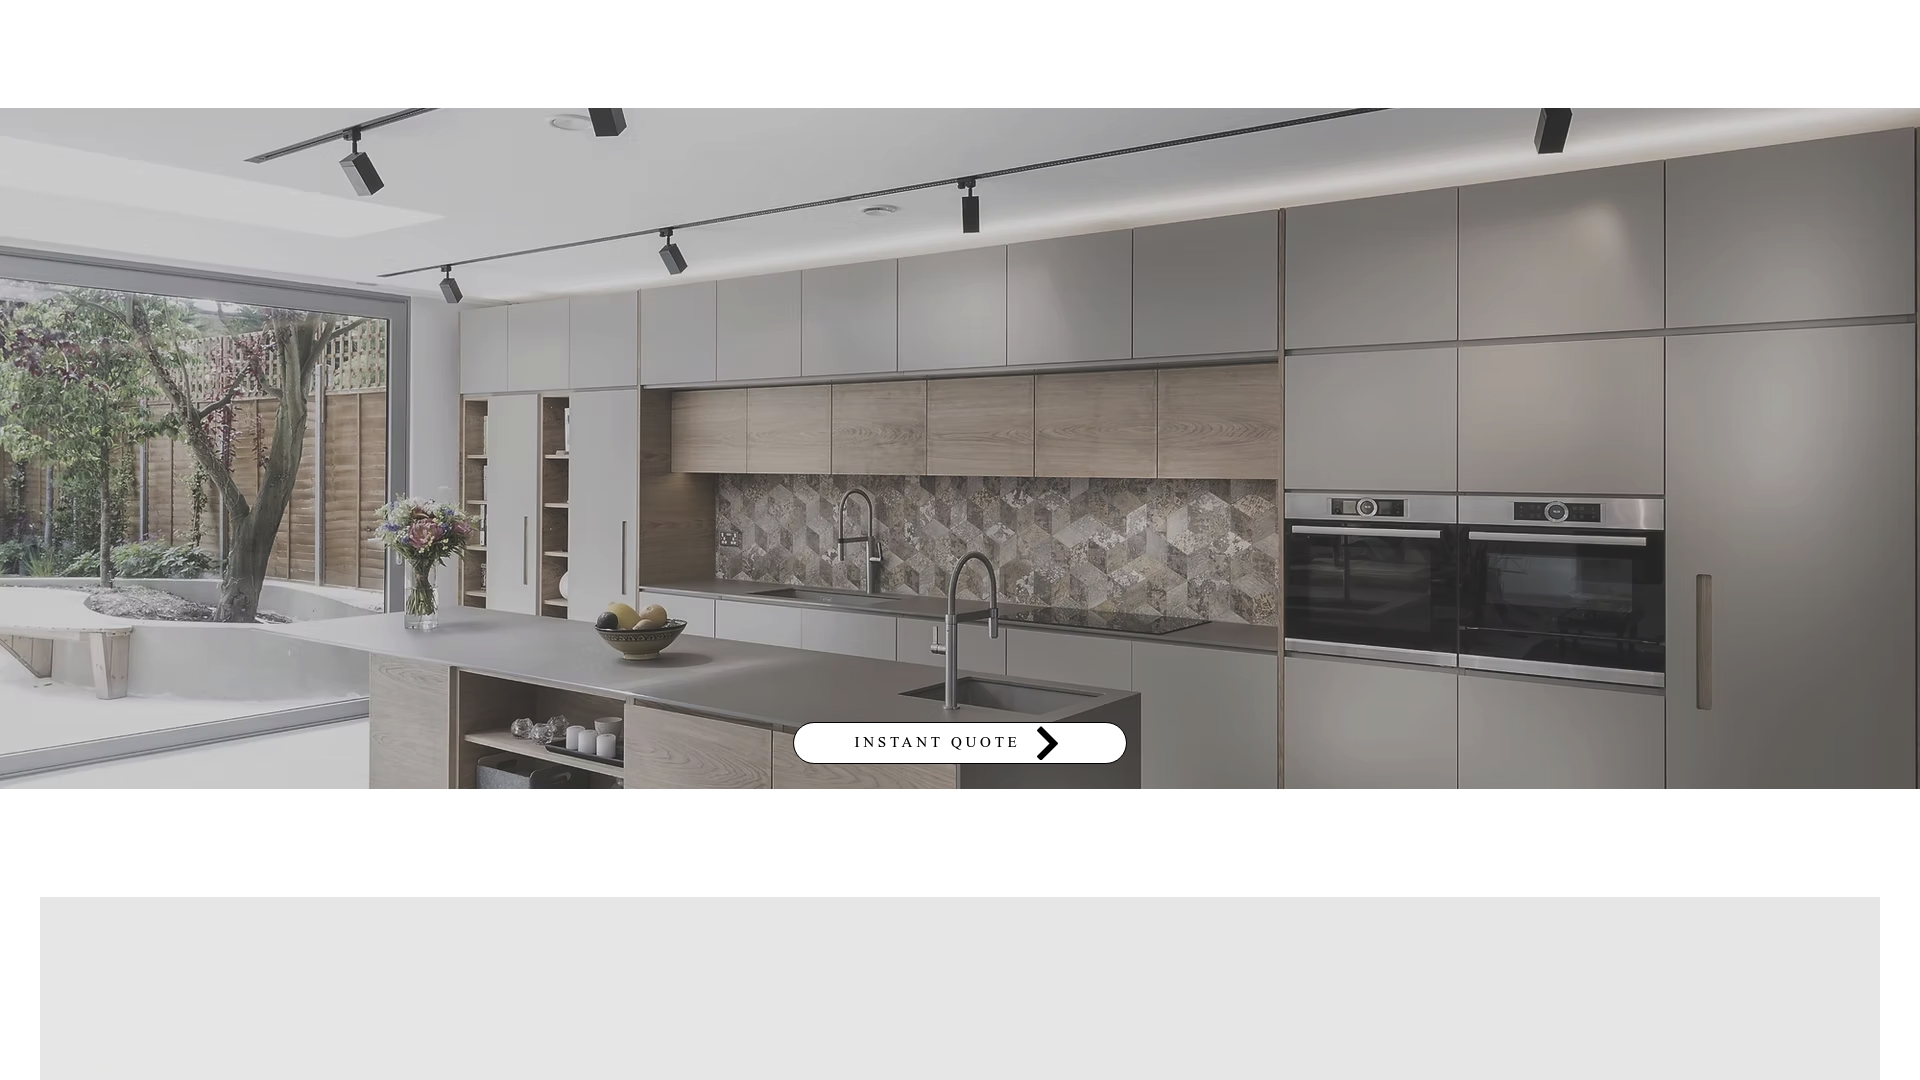
If you are planning a kitchen renovation across West or Central London, Tenenltd has been delivering high-quality refurbishments since 2006. From Fulham to Kensington, our team integrates lighting design into every stage of the kitchen refurbishment process, ensuring circuits, dimmers, and fixture placements are planned before a single tile is laid. We also handle property extensions where open-plan kitchen spaces require a more considered approach to zoning and illumination. If you want a kitchen that looks and functions exactly as you have envisioned, speak to the Tenenltd team about your project today.
FAQ
What are the four layers of kitchen lighting?
The four layers are ambient, task, accent, and decorative lighting. Each serves a distinct function, and combining all four creates a kitchen that is both practical and visually appealing.
How many lumens does a kitchen need?
Kitchens typically require 6,000 to 16,000 lumens at ceiling level, depending on room size and surface colours. This higher output compensates for the 40 to 50 percent of light absorbed before it reaches your worktops.
What colour temperature is best for kitchen lighting?
A colour temperature of around 3000K is recommended for most kitchens. It balances warmth and clarity, and keeping all fixtures at the same Kelvin value prevents the disjointed look caused by mismatched bulbs.
Where should recessed lights be positioned in a kitchen?
Recessed downlights should be placed approximately 24 inches from walls to provide even coverage across countertops. Spacing them evenly across the ceiling, rather than clustering them centrally, avoids dark patches at the room’s edges.
Is under-cabinet lighting worth the investment?
Under-cabinet lighting is consistently rated as the highest-impact single upgrade in a kitchen lighting system. It eliminates shadows on worktops caused by overhead cabinetry and makes food preparation noticeably safer and more comfortable.
Recommended
Comments