
Painting and decorating tips for flawless DIY results
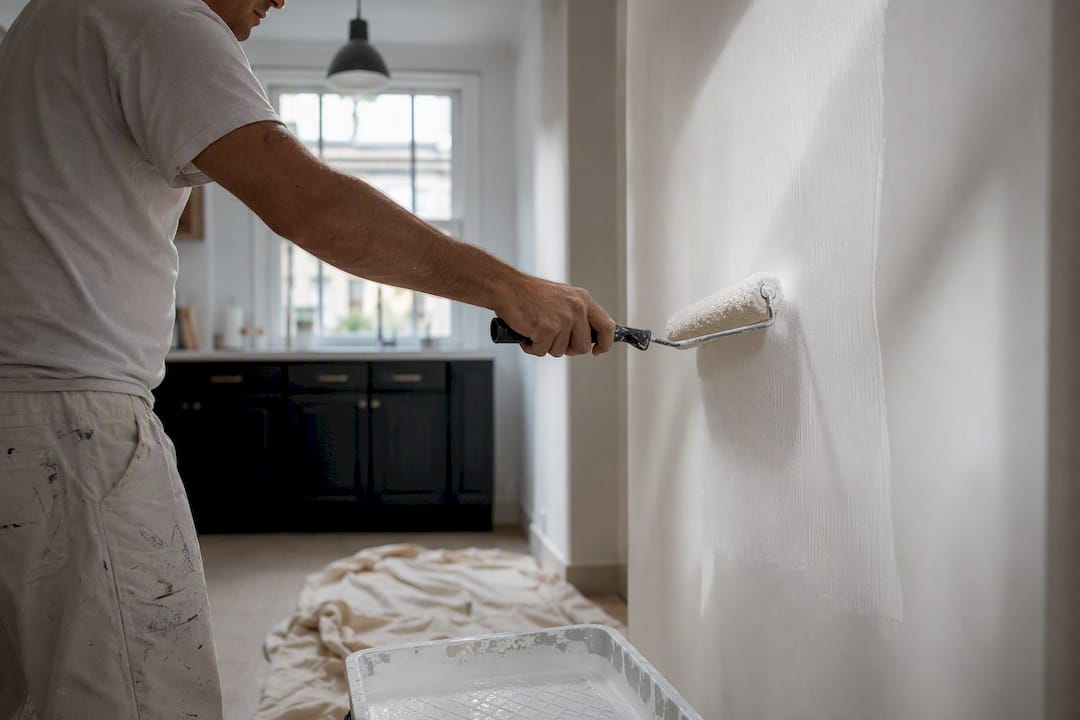
Get five things right and any room looks professionally finished: prepare the surface properly, prime it correctly, apply two thin coats while keeping a wet edge, match the sheen to the room’s job, and protect and ventilate the space as you go. Skip any one of these and you’ll see it, usually within weeks.
Clean, fill and sand every surface before a brush touches it
Roll in overlapping W or M patterns to avoid streaks and lap marks
Match your finish to the room: matt for bedrooms, wipeable finishes for kitchens and bathrooms
The fastest route to a botched paint job isn’t a cheap brush. It’s rushing preparation to get to the “fun” part sooner.
Key Takeaways
A professional paint finish comes down to thorough preparation, correct primer choice, two thin coats applied with a wet edge, and sheen matched to room function.
Point | Details |
Preparation decides the outcome | Clean, fill, sand and dust-free vacuum before any paint touches the surface. |
Mist coat new plaster correctly | Dilute contract matt emulsion 10:1 and never substitute vinyl emulsion for this step. |
Two thin coats beat one thick one | Thin coats dry evenly and avoid the sagging and drips a heavy single coat causes. |
Order and wet edge prevent lap marks | Work ceiling, then walls, then trim, keeping each section wet until it’s fully rolled. |
Sheen should match the room’s job | Wipeable finishes for kitchens and bathrooms, matt or soft sheen for living spaces. |
Table of Contents
Surface preparation: the step that matters most
Every decorator will tell you the same thing: the finish is only as good as what’s underneath it. Skimp on preparation and even premium paint will show every flaw within a season.
Clean the surface with sugar soap to remove grease, dust and nicotine staining, then rinse and let it dry fully.
Remove flaking or loose paint with a scraper, working back to a sound edge rather than feathering over the problem.
Fill holes and cracks with a proper filler, let it cure, then sand flush with the surrounding wall.
Sand everything lightly to key the surface, then vacuum the dust rather than wiping it, which just smears it back on.
Mist coat new plaster using contract matt emulsion diluted 10:1 with water. Never use vinyl emulsion for this job, since it stops the plaster breathing and can cause the whole coat to fail later, according to Crown Paints’ technical guidance.
New plaster needs 2 to 4 weeks to dry before you decorate it, and a moisture meter reading below roughly 12% is the target before you commit to a topcoat.
Pro Tip: Run your hand flat across a “finished” wall in raking light from a lamp. Any dips, ridges or sanding marks that were invisible from standing height show up instantly, and it’s far easier to fix them now than after two coats of paint.
Tools and materials to buy (and what to skip)
The right kit makes technique easier; the wrong kit makes even good technique look amateurish. Here’s what actually earns its place in the toolbox:
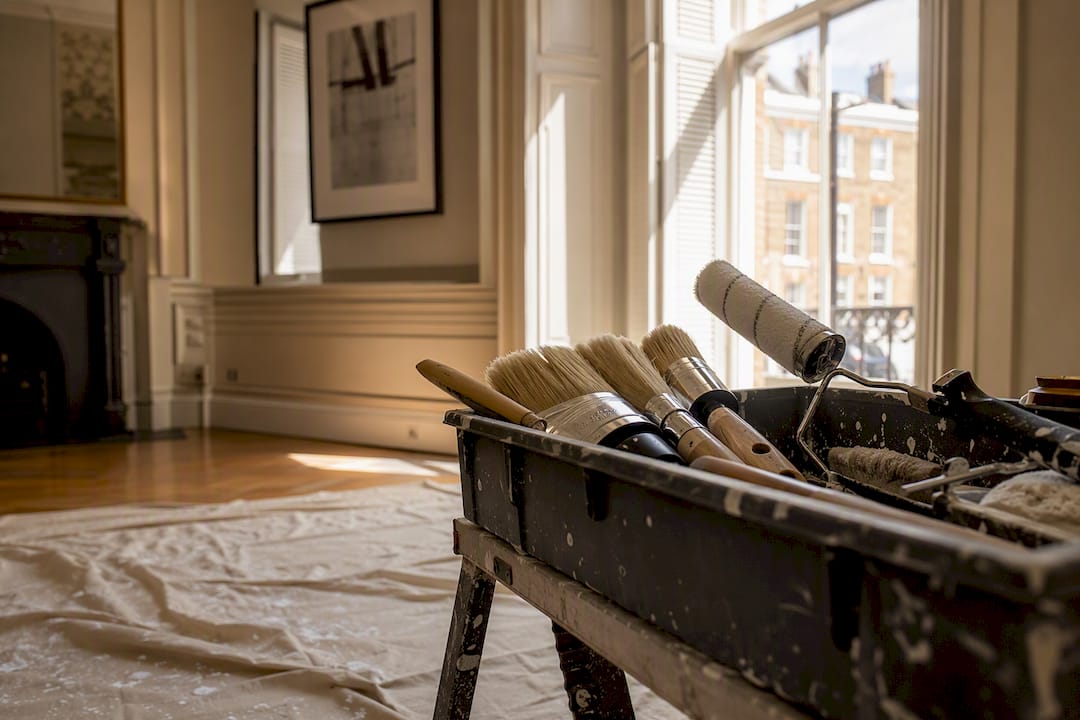
Angled sash brush for cutting in around trim, ceilings and window frames with control
Extension pole so you can roll walls and ceilings standing upright, giving even pressure and a straighter line
Roller with the right nap: short pile for smooth walls, medium for lightly textured surfaces, and a mini roller for doors and flat panels
Paint tray with a liner to keep clean-up fast and consistent loading easy
Low-tack masking tape for trim and glass, removed while the paint is still slightly tacky
Choose your primer by substrate. Bare plaster and porous surfaces need a mist coat; bare wood generally takes a water-based primer well, though stubborn stains or tannin bleed call for an oil-based stain block. Ideal Home’s guide to painting smarter recommends matching emulsion to walls and acrylic to woodwork rather than treating all paint as interchangeable.
Spend on rollers and brushes; a good brush holds its shape for years. Economise on trays and dust sheets, which take the daily abuse.
Techniques that deliver a professional finish
Order matters as much as skill. Work ceiling first, then walls, then trim, cutting in the edges of each surface before rolling the main area while that edge is still wet. This sequence, recommended by Dulux’s own painting guidance, stops you dragging a dry roller across an already-dried cut line, which is exactly what causes visible lap marks.
Cut in the corners and edges with your angled brush before the roller comes anywhere near that wall.
Roll in overlapping W or M patterns, using an extension pole to keep pressure even across the full stroke.
Apply two thin coats rather than one thick one. Valspar’s guidance on painting new plaster is clear on this: thin coats dry evenly and avoid the sagging and drip marks that a single heavy coat almost guarantees.
Sand lightly between coats with fine-grit paper if you feel any roughness, but only if it’s genuinely needed. Over-sanding wastes time and can cut through the first coat.
Roll the final coat in one consistent direction (usually top to bottom) for the smoothest possible sheen when the light catches it.
Don’t overload the roller. Dip it, then roll off the excess on the ridged part of the tray before it touches the wall. A heavy roller is the single biggest cause of drips, texture and uneven coverage.
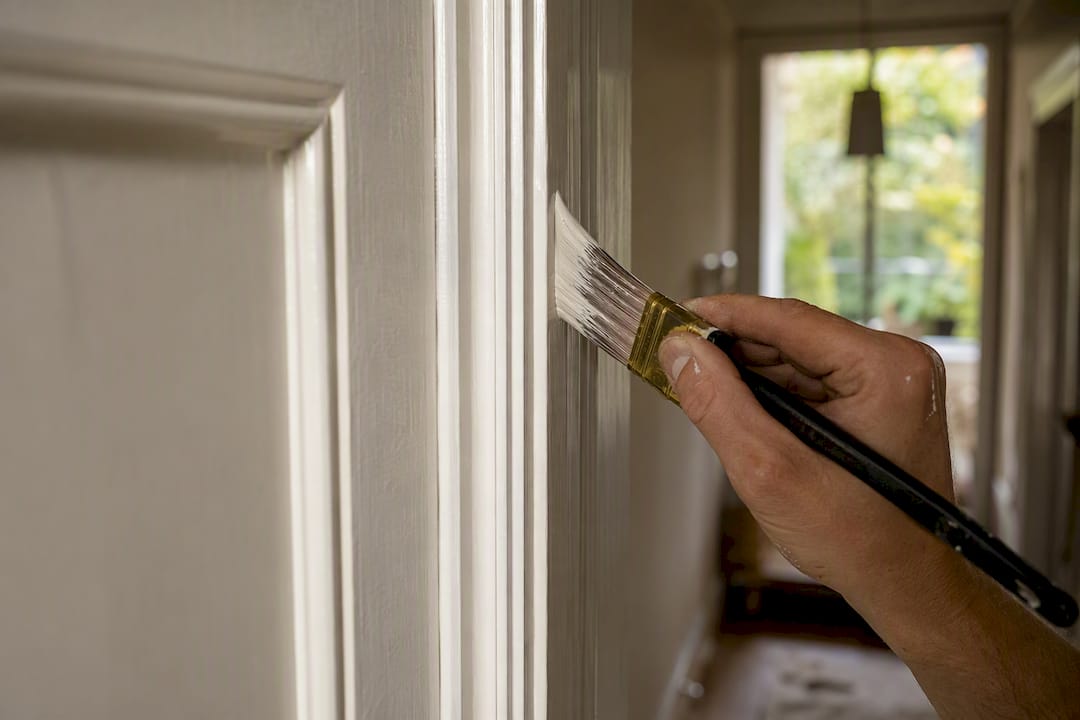
Pro Tip: For crisp edges on doors and trim, load the brush lightly and finish each stroke by lifting away rather than stopping dead. Stopping mid-stroke leaves a visible ridge once the paint dries.
Common decorating mistakes and quick fixes
Most botched jobs come down to a handful of repeated errors, and nearly all of them are avoidable once you know what to watch for.
Don’t paint over damp or loose wallpaper. It will bubble or peel within weeks, taking your paint with it.
Do mist coat new plaster before anything else touches it, following the 10:1 dilution above.
Don’t paint in poor light. Missed patches and roller marks are invisible under a single bulb and painfully obvious in daylight.
Visible roller marks usually mean the roller was overloaded or the wrong nap for the surface; a light second coat, rolled evenly, generally corrects it.
Tape peeling paint away with it means it sat too long before removal, or was applied over a poorly cleaned surface.
Patchy coverage is almost always a preparation issue rather than a paint issue, and common wall painting mistakes documented by decorators repeatedly trace back to skipped prep steps.
If a wall keeps failing after two honest attempts, or you’re dealing with damp, structural cracking or old lead paint, that’s a job for a professional rather than a third coat. Our guide to common renovation mistakes covers several of these warning signs in more depth.
Room-by-room finish choices and small-room colour tips
The right sheen depends on how a room gets used, not just how it looks in the tin.
Kitchens and bathrooms need hard-wearing, wipeable finishes that survive steam and grease; a durable finish suited to high-moisture rooms will outlast a decorative matt every time.
Living rooms and bedrooms suit matt or soft sheen emulsion, which forgives minor wall imperfections and feels calmer under normal lighting.
Trim, skirting and doors hold up best in eggshell, satin or semi-gloss, all of which wipe clean and resist knocks.
Small, dark rooms feel larger with lighter, cooler tones and a slight sheen that bounces available light around.
Moisture-prone areas benefit from mildew-resistant formulations specifically, not just a glossier finish.
If you’re weighing up finishes for a kitchen or bathroom refurbishment, our bathroom and kitchen refurbishment team deals with exactly this trade-off daily.
Finishing touches, maintenance and cleanup
The last half hour of a paint job protects everything you’ve just done.
Remove masking tape while the final coat is still slightly tacky, pulling it away at a shallow angle to avoid tearing the fresh paint.
Save a labelled pot of leftover paint for touch-ups later; seal it tightly and store it away from frost or heat.
Clean brushes used with water-based paint in warm soapy water; use mineral spirits for oil-based paint, and scrape excess from rollers with a curved tool before rinsing, as This Old House recommends.
Dispose of solvent-based leftovers responsibly through your local household waste site rather than down a drain.
Health and safety: ventilation, PPE and safe-working tips
Ventilate the room throughout painting and for several hours after, especially with oil-based products.
Choose low-odour, water-based paints where the job allows it.
Wear a particulate mask when sanding, and goggles and gloves for any solvent-based work.
Avoid painting in very cold, very hot or very humid conditions, since all three affect drying and adhesion.
Dispose of solvent waste at a licensed facility, never in general household rubbish. Our note on fire safety in renovation work covers safe storage of flammable materials too.
Pro tips from a tradesperson: practice-tested advice
Colour reads differently at 9am and 6pm, so test your shortlist on the actual wall and check it across a full day before committing to five litres. A colour that looks perfect under a shop’s fluorescent lighting can shift entirely once it’s on your own north-facing wall.
Test paint on the wall itself, not just the tin lid, and view it morning, afternoon and evening.
Seal masking tape edges with a thin skim of the existing wall colour before applying the new one; it stops bleed under the tape line.
Sand between coats only when you feel roughness, not as a default step; unnecessary sanding wastes time and risks cutting through the base coat.
Choose your final roll direction deliberately, always finishing in the same direction across the whole wall for the most even sheen.
For a tricky substrate, an uneven old wall, or a high-value finish where mistakes are expensive to fix, most homeowners we work with across West London decorating projects decide a professional crew is worth it, particularly on ceilings and cornicing where a bad angle shows for years. If woodwork colour is part of the decision, advice on the best colours for interior doors is worth a look before you commit to trim.
Getting the professional finish, and when to call one in
Considering a full room refresh, or decorating as part of a wider refurbishment? Tenen Ltd has worked on painting and decorating projects across West and Central London since 2006, from single feature walls to full property refurbishments where finish quality genuinely matters. If a project has grown beyond a weekend DIY job, our full range of services covers painting and decorating alongside kitchens, bathrooms, extensions and everything in between.
Short list of trusted resources and where to read more
Dulux and Ideal Home for technique guidance
Colour visualisers and sheen guides from brands like Dulux and Wickes help you test shades before buying
What actually separates a DIY job from a professional one
Most decorating advice online obsesses over colour trends and paint brands, but that’s rarely where amateur jobs fall apart. The gap almost always sits in preparation and patience: skipping the mist coat, rushing the drying time on new plaster, or loading a roller too heavily to save a trip up the ladder.
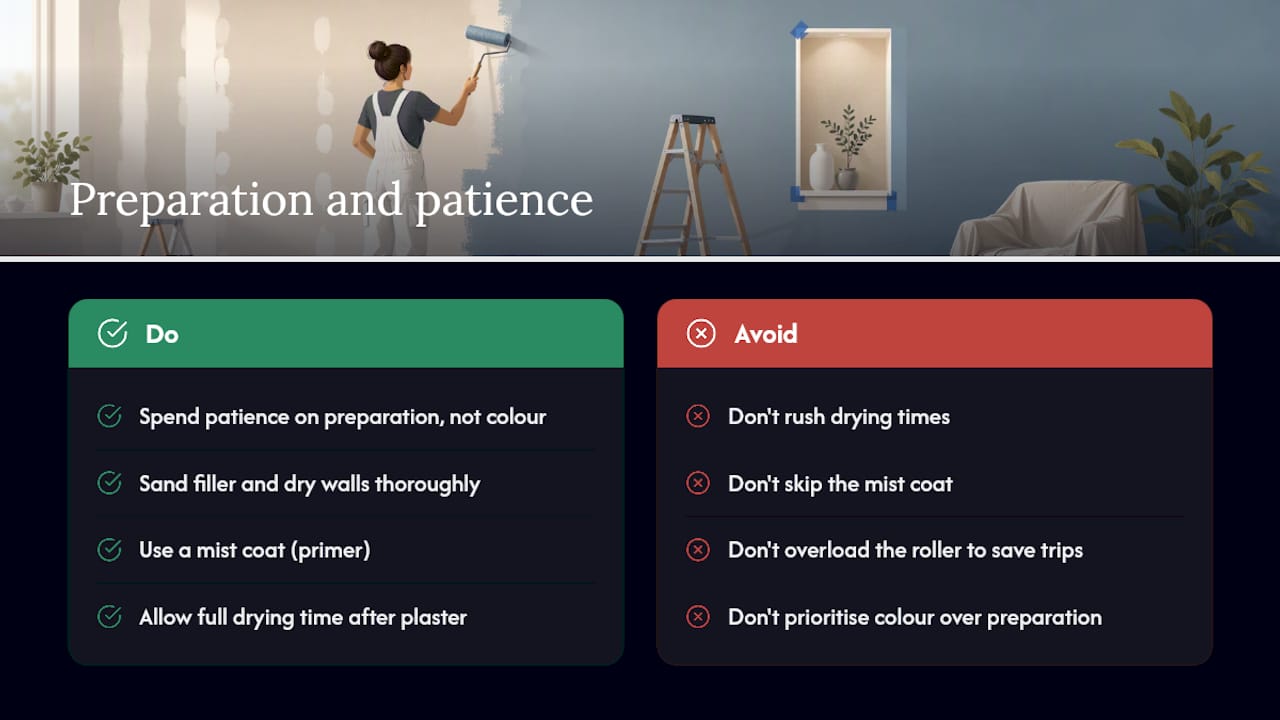
Conventional wisdom oversells the paint itself and undersells the process around it. A £45 tin of premium emulsion applied over unsanded filler and a damp wall will fail faster than a budget paint applied properly onto a well-prepared surface. If you take one thing from everything above, it’s this: spend your patience on preparation, not on picking between three near-identical shades of white. The colour choice is reversible in an afternoon. Poor prep isn’t reversible without redoing the whole job.
Sources
Recommended
Comments